
Page 1 2
The Endless Fibre Glass Work Begins!
Why have things been so slow! Not sure really!
I really don't like working on the body and I have been putting it off so I finally started. First an easy job as I have not worked with fibre glass for about 10 years.
1) Rear Light Mounting
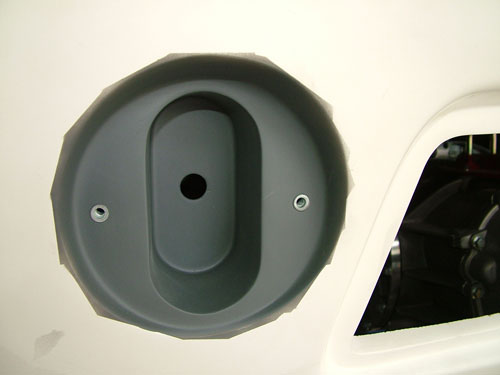
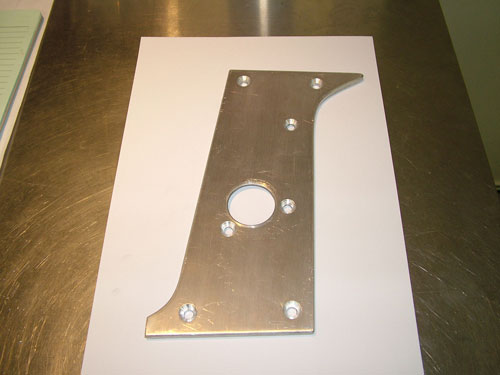
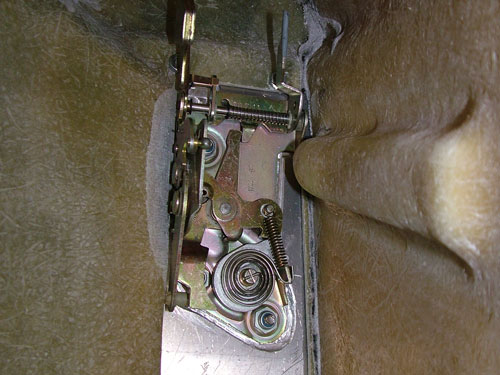
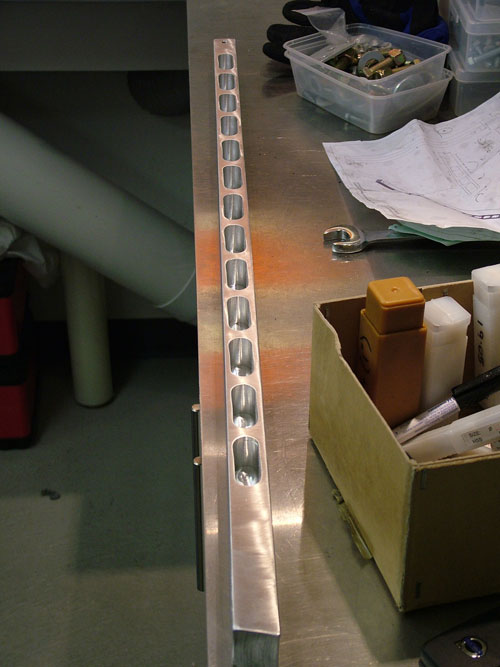
The rear lights would fit better if a small indentation was added in the rear clip to stop the back of the lights from being sprayed by water. I made a all mould from wood (top left part below).
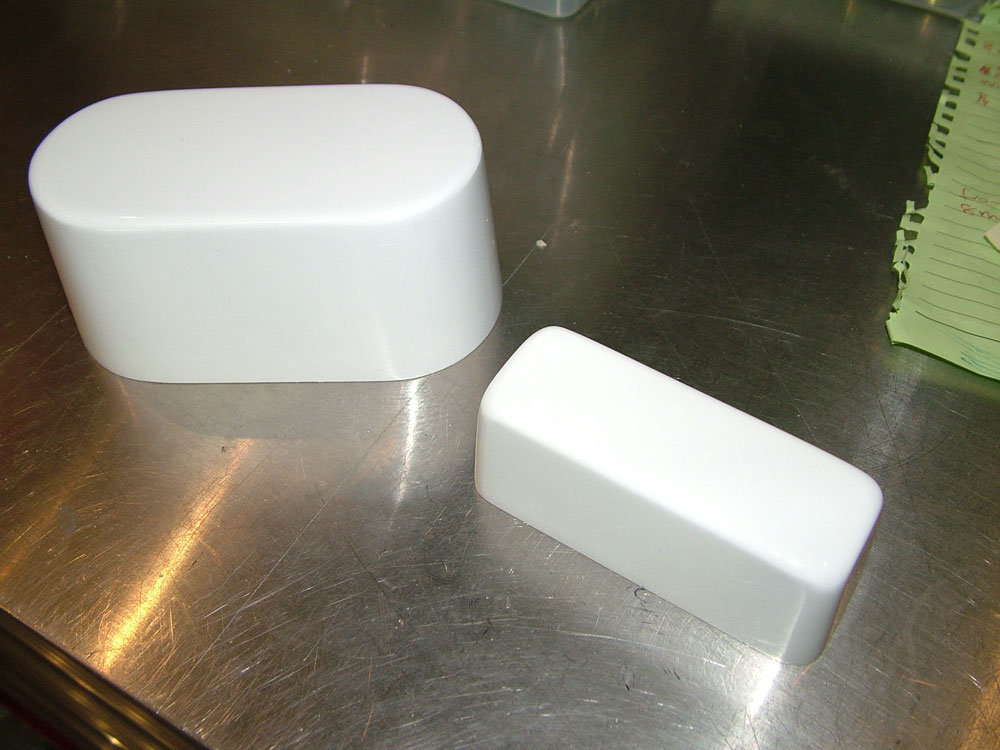
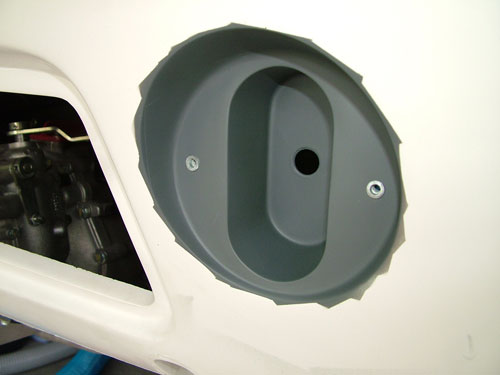
I then made a few oval type parts and glassed them into the rear of the lights. A cable assembly with a grommet was obtained and this will make a sealed cable connection to the lights. Nutserts have been glassed in to fasten the lights.
BEFORE
AFTER
2) Door Latches and Striker
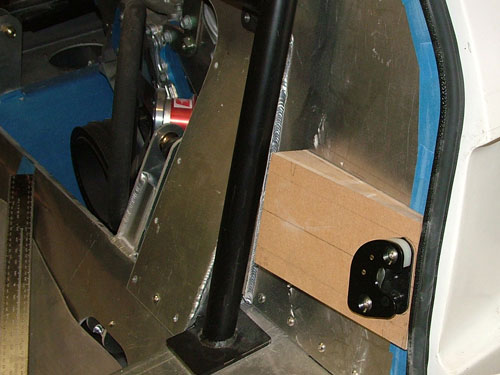
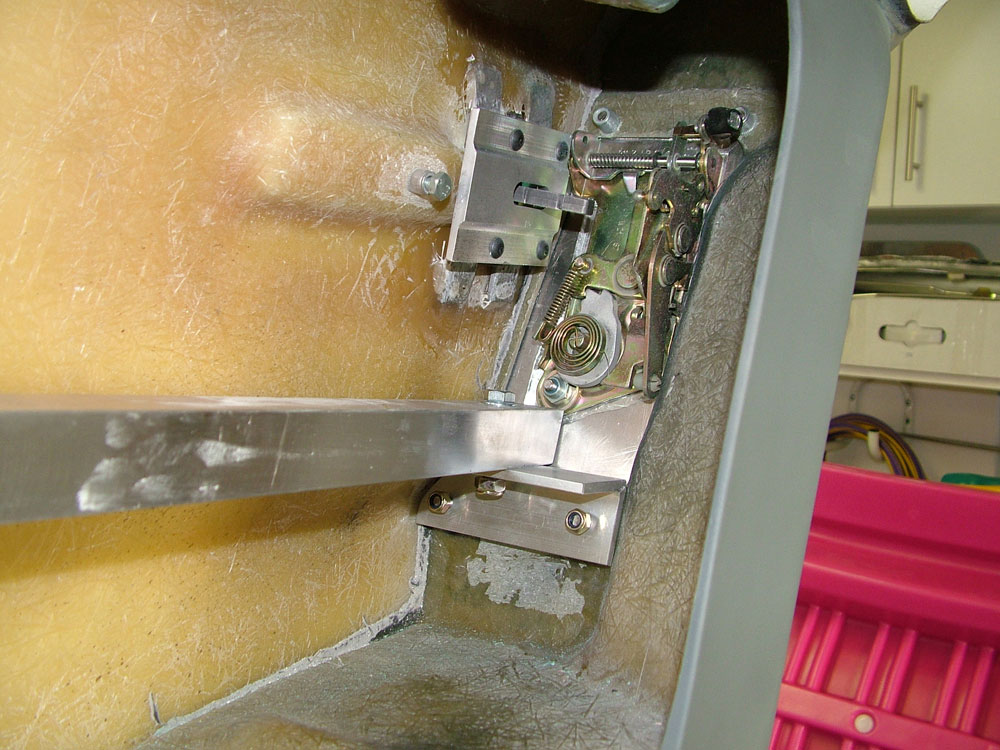
I decided to mount Porsche door locks as I have used them before and they are ADR compliant. I manufactured aluminium plates and mounted them to the doors.
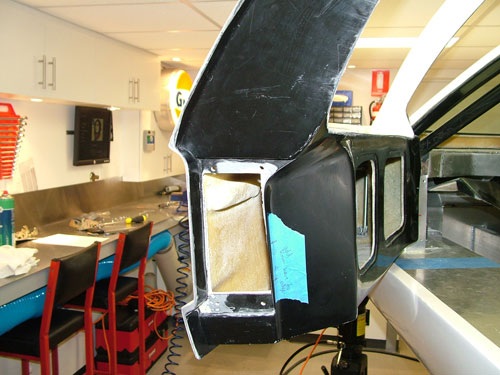
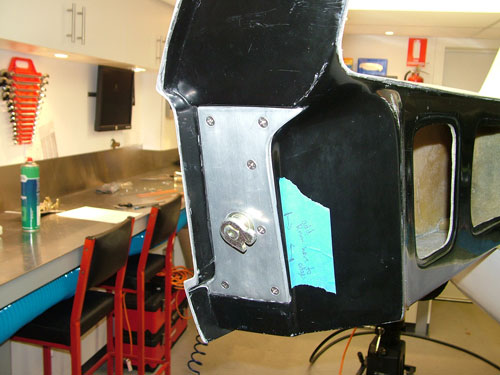
The door striker was positioned on a temporary MDF bracket. This will later be made out of aluminium and tie in with the roll cage to transmit any side collision loadings.
Next job was to make some intrusion beams for the doors. I modelled them in CAD and compared the bending strength to another GT40 kit in Australia that uses steel bars. The aluminium bar was designed to deflect less and be lighter than the steel equivalent. I then milled the bars from 6061T6 aluminium.
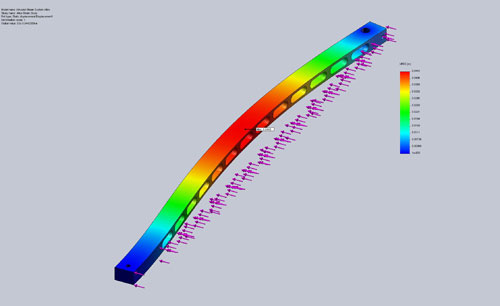
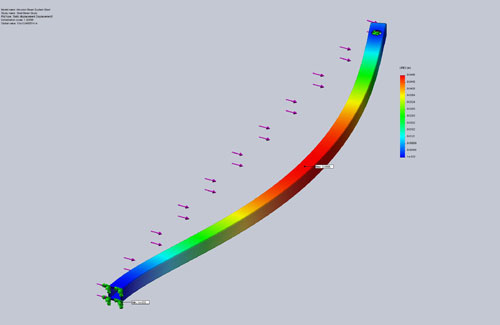
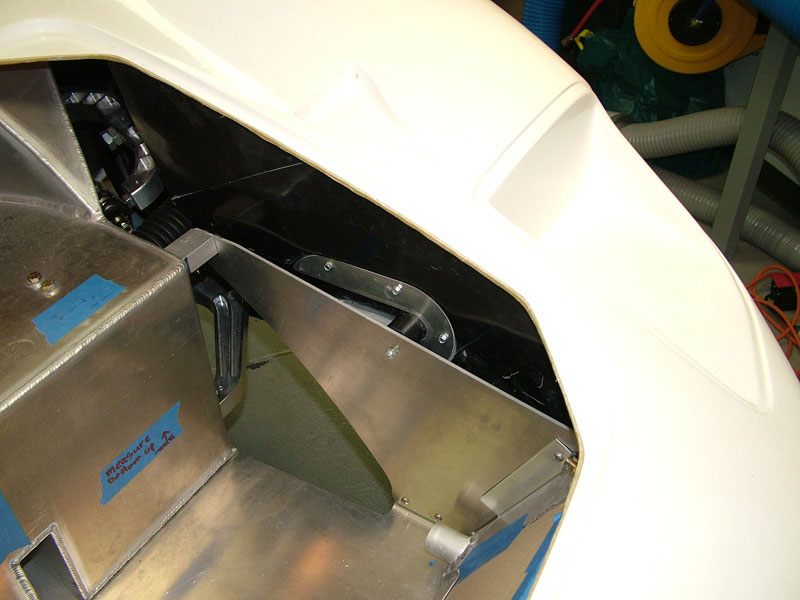
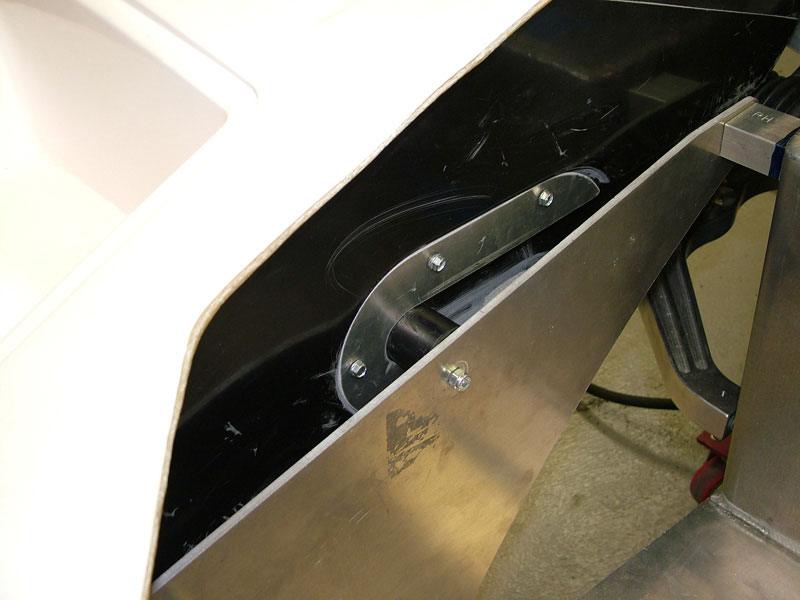
This was then installed and braced to the latch (below) and door hinge (above).
Update : 30th May, 2010
Revised Front Hinge System
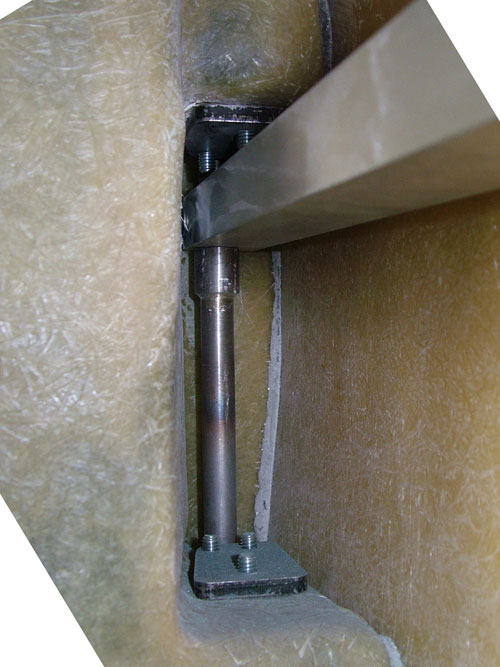
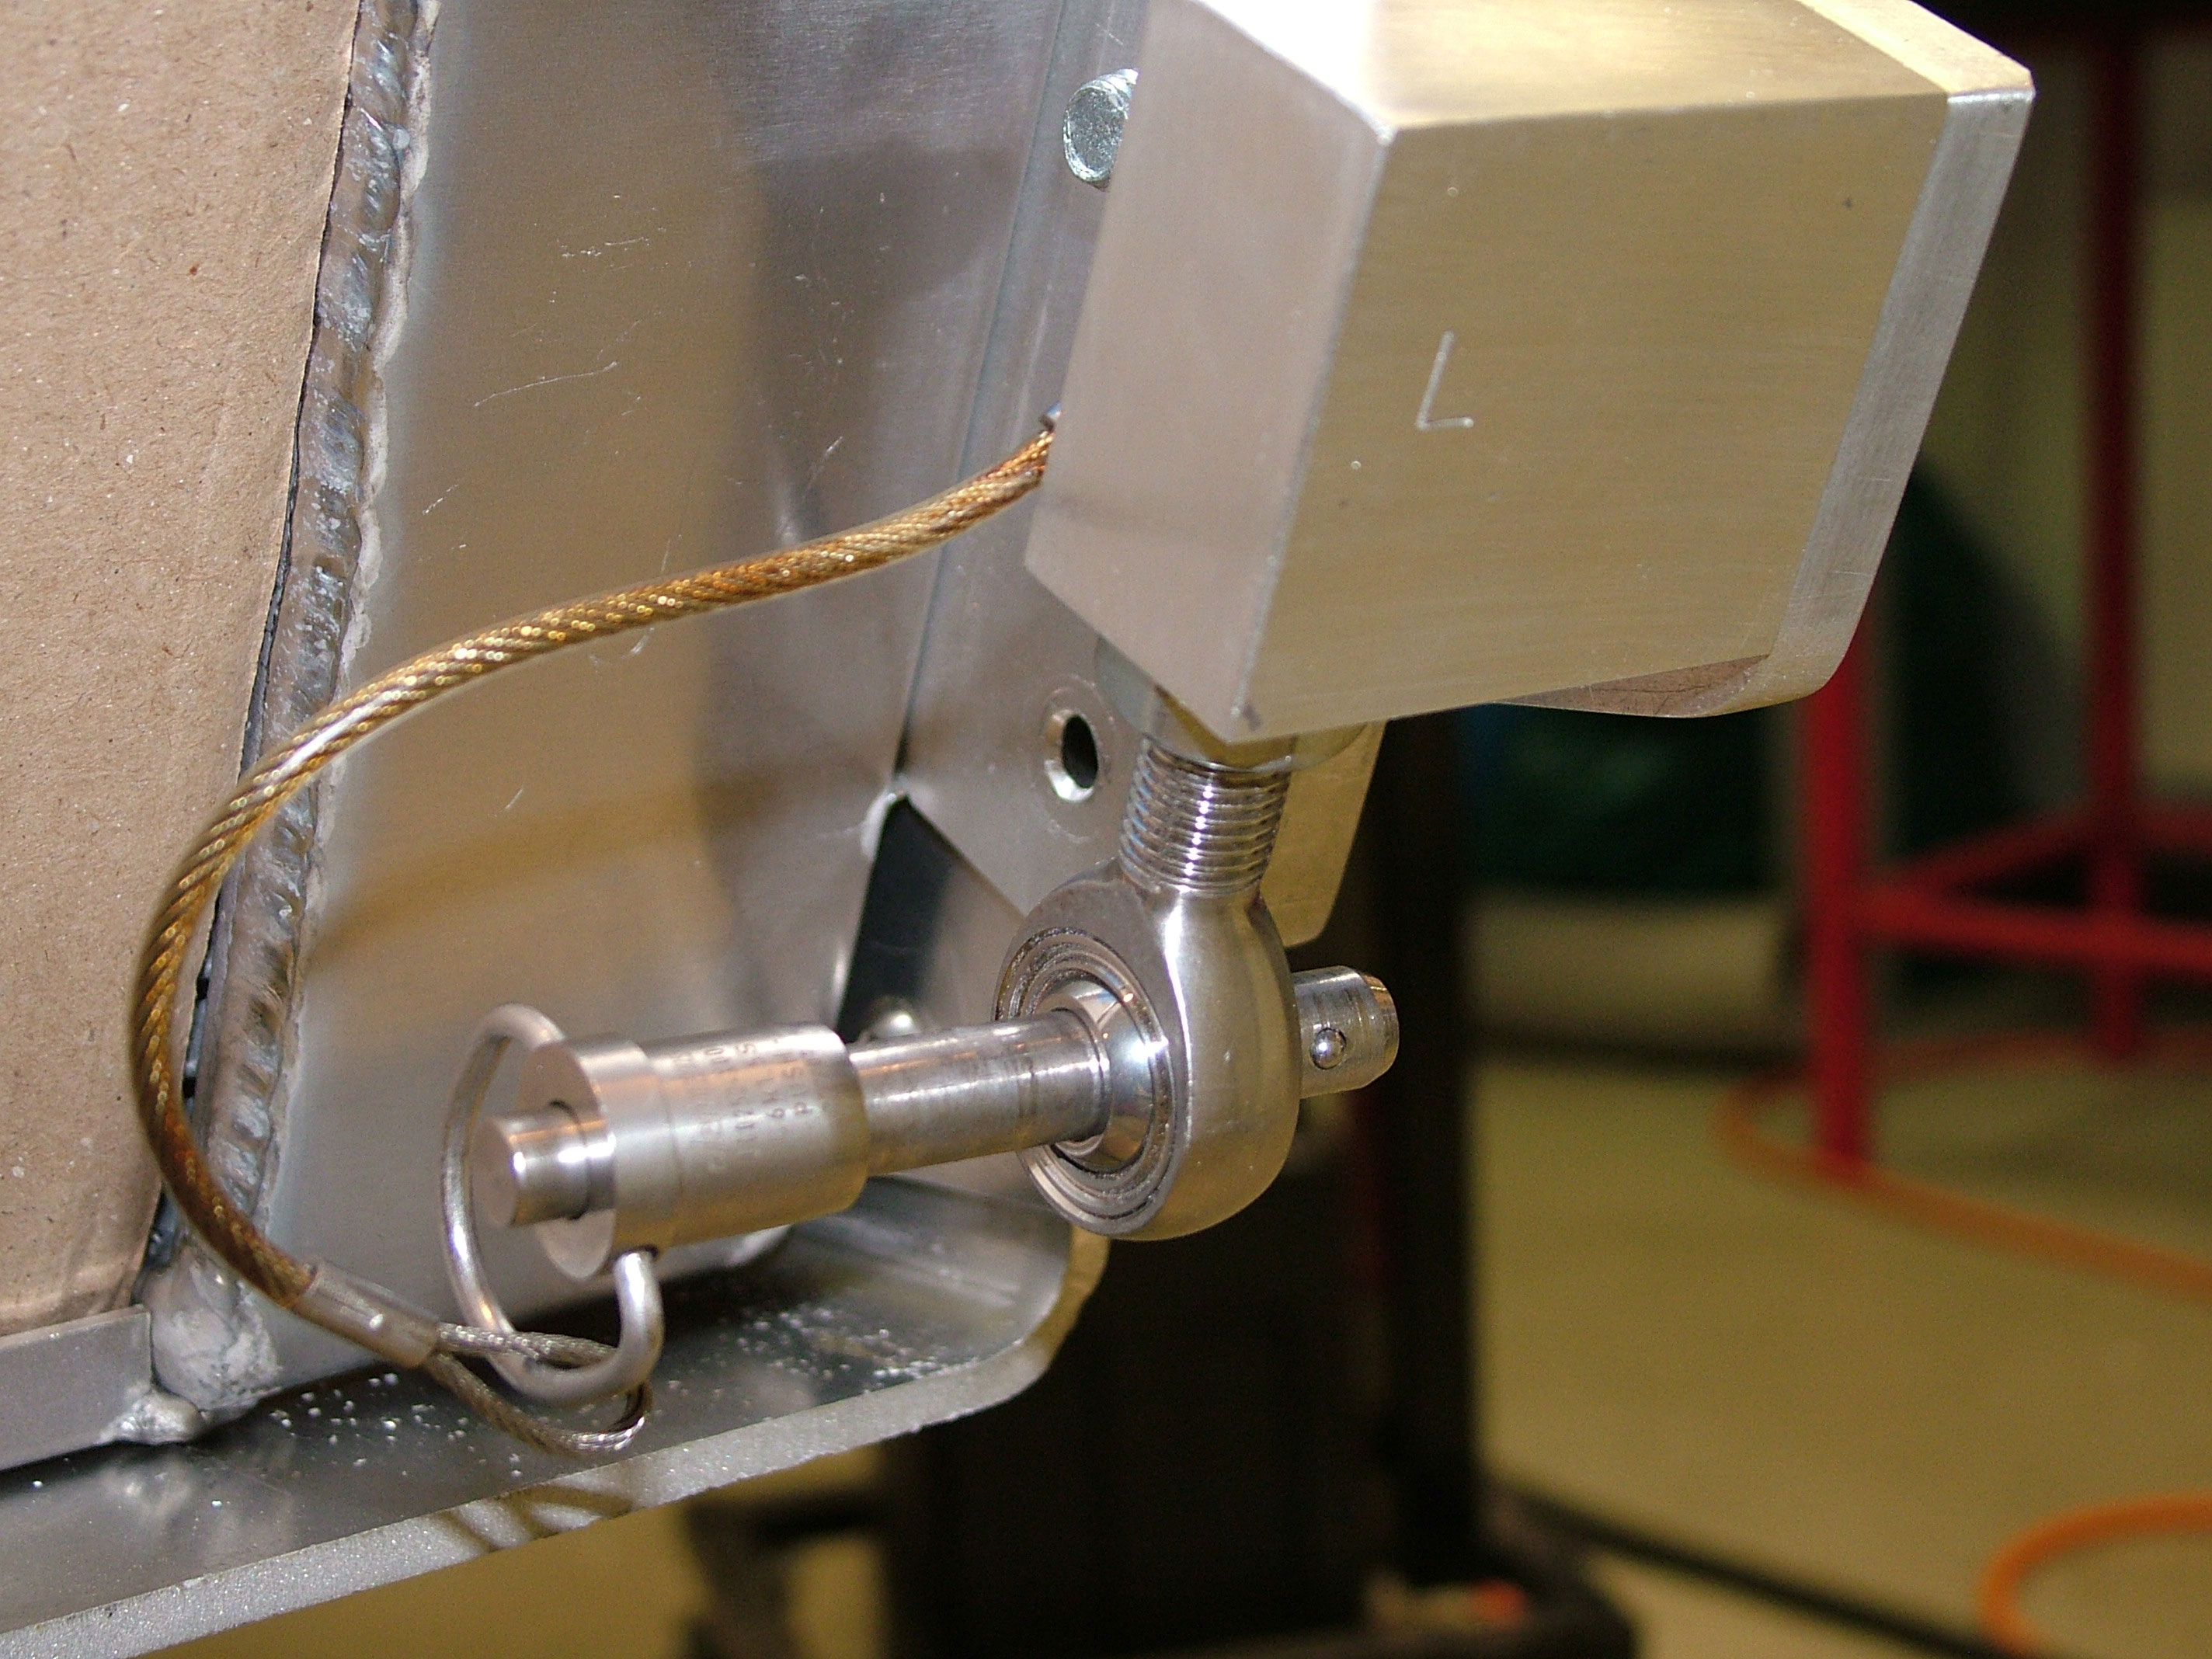
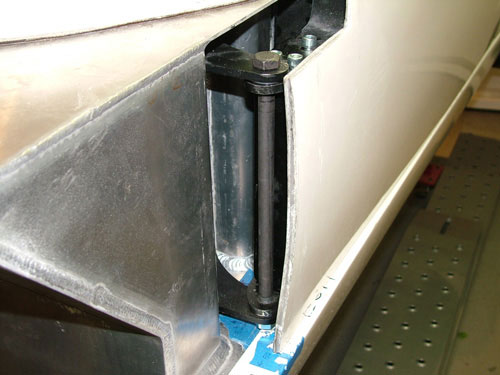
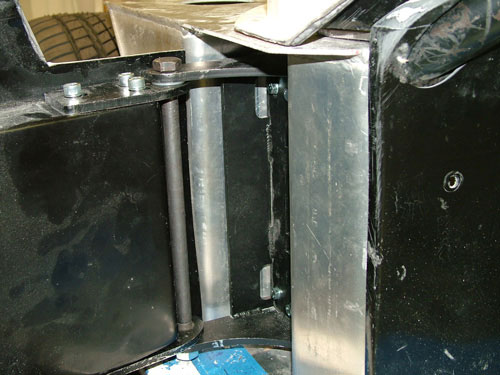
As I tend to work on the car on my own I needed to revise the standard RCR front hinge system as it was too easy to drop the front clip on its nose when opening it. I also wanted to make it easy to release quickly which the original system had. I used the Jergen's quick release pins (thanks Eglitom) at the front as well.

Using heim joints allowed adjustment up and down and the main bracket allows fore aft adjustment.
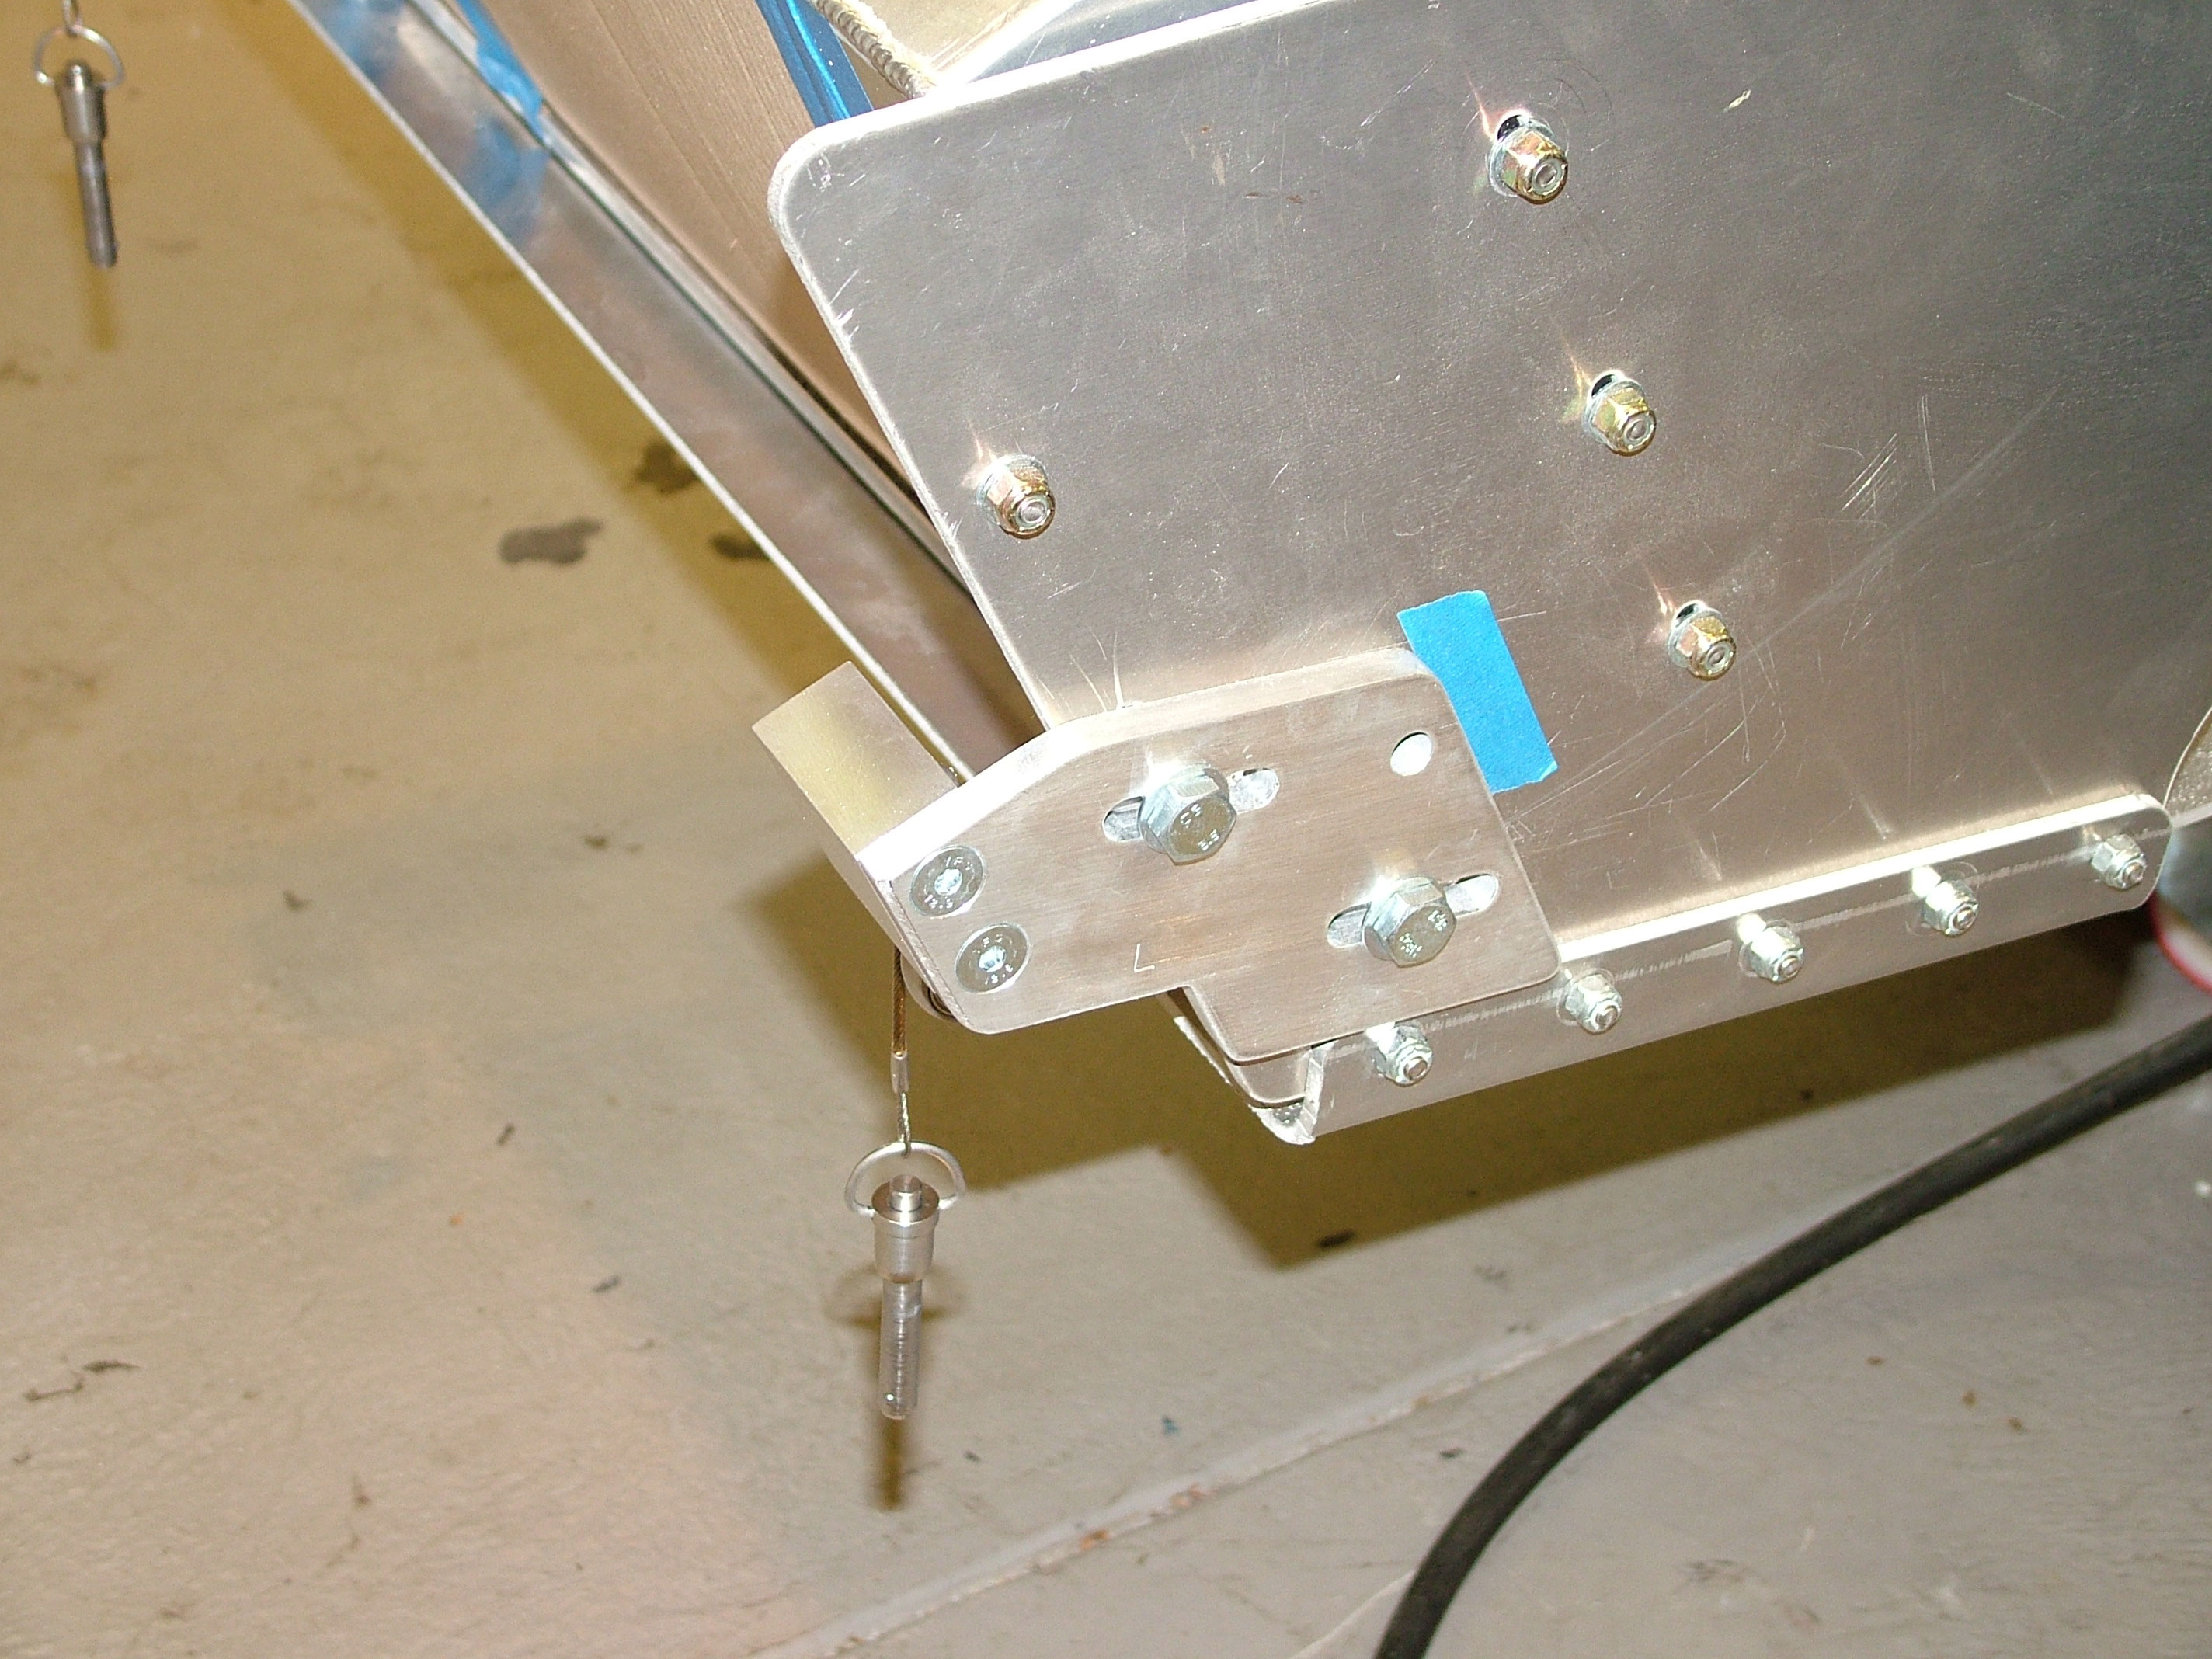
Brackets will be glassed in properly when I'm convinced of their position. Front clip is tilting perfectly and not deforming even before I add some additional glass ribs to the clip area.
Update : 7th June, 2009
Further Body Alignment Work
Again a lot of help from the GT40s forum has given me some good progress on the body alignment.
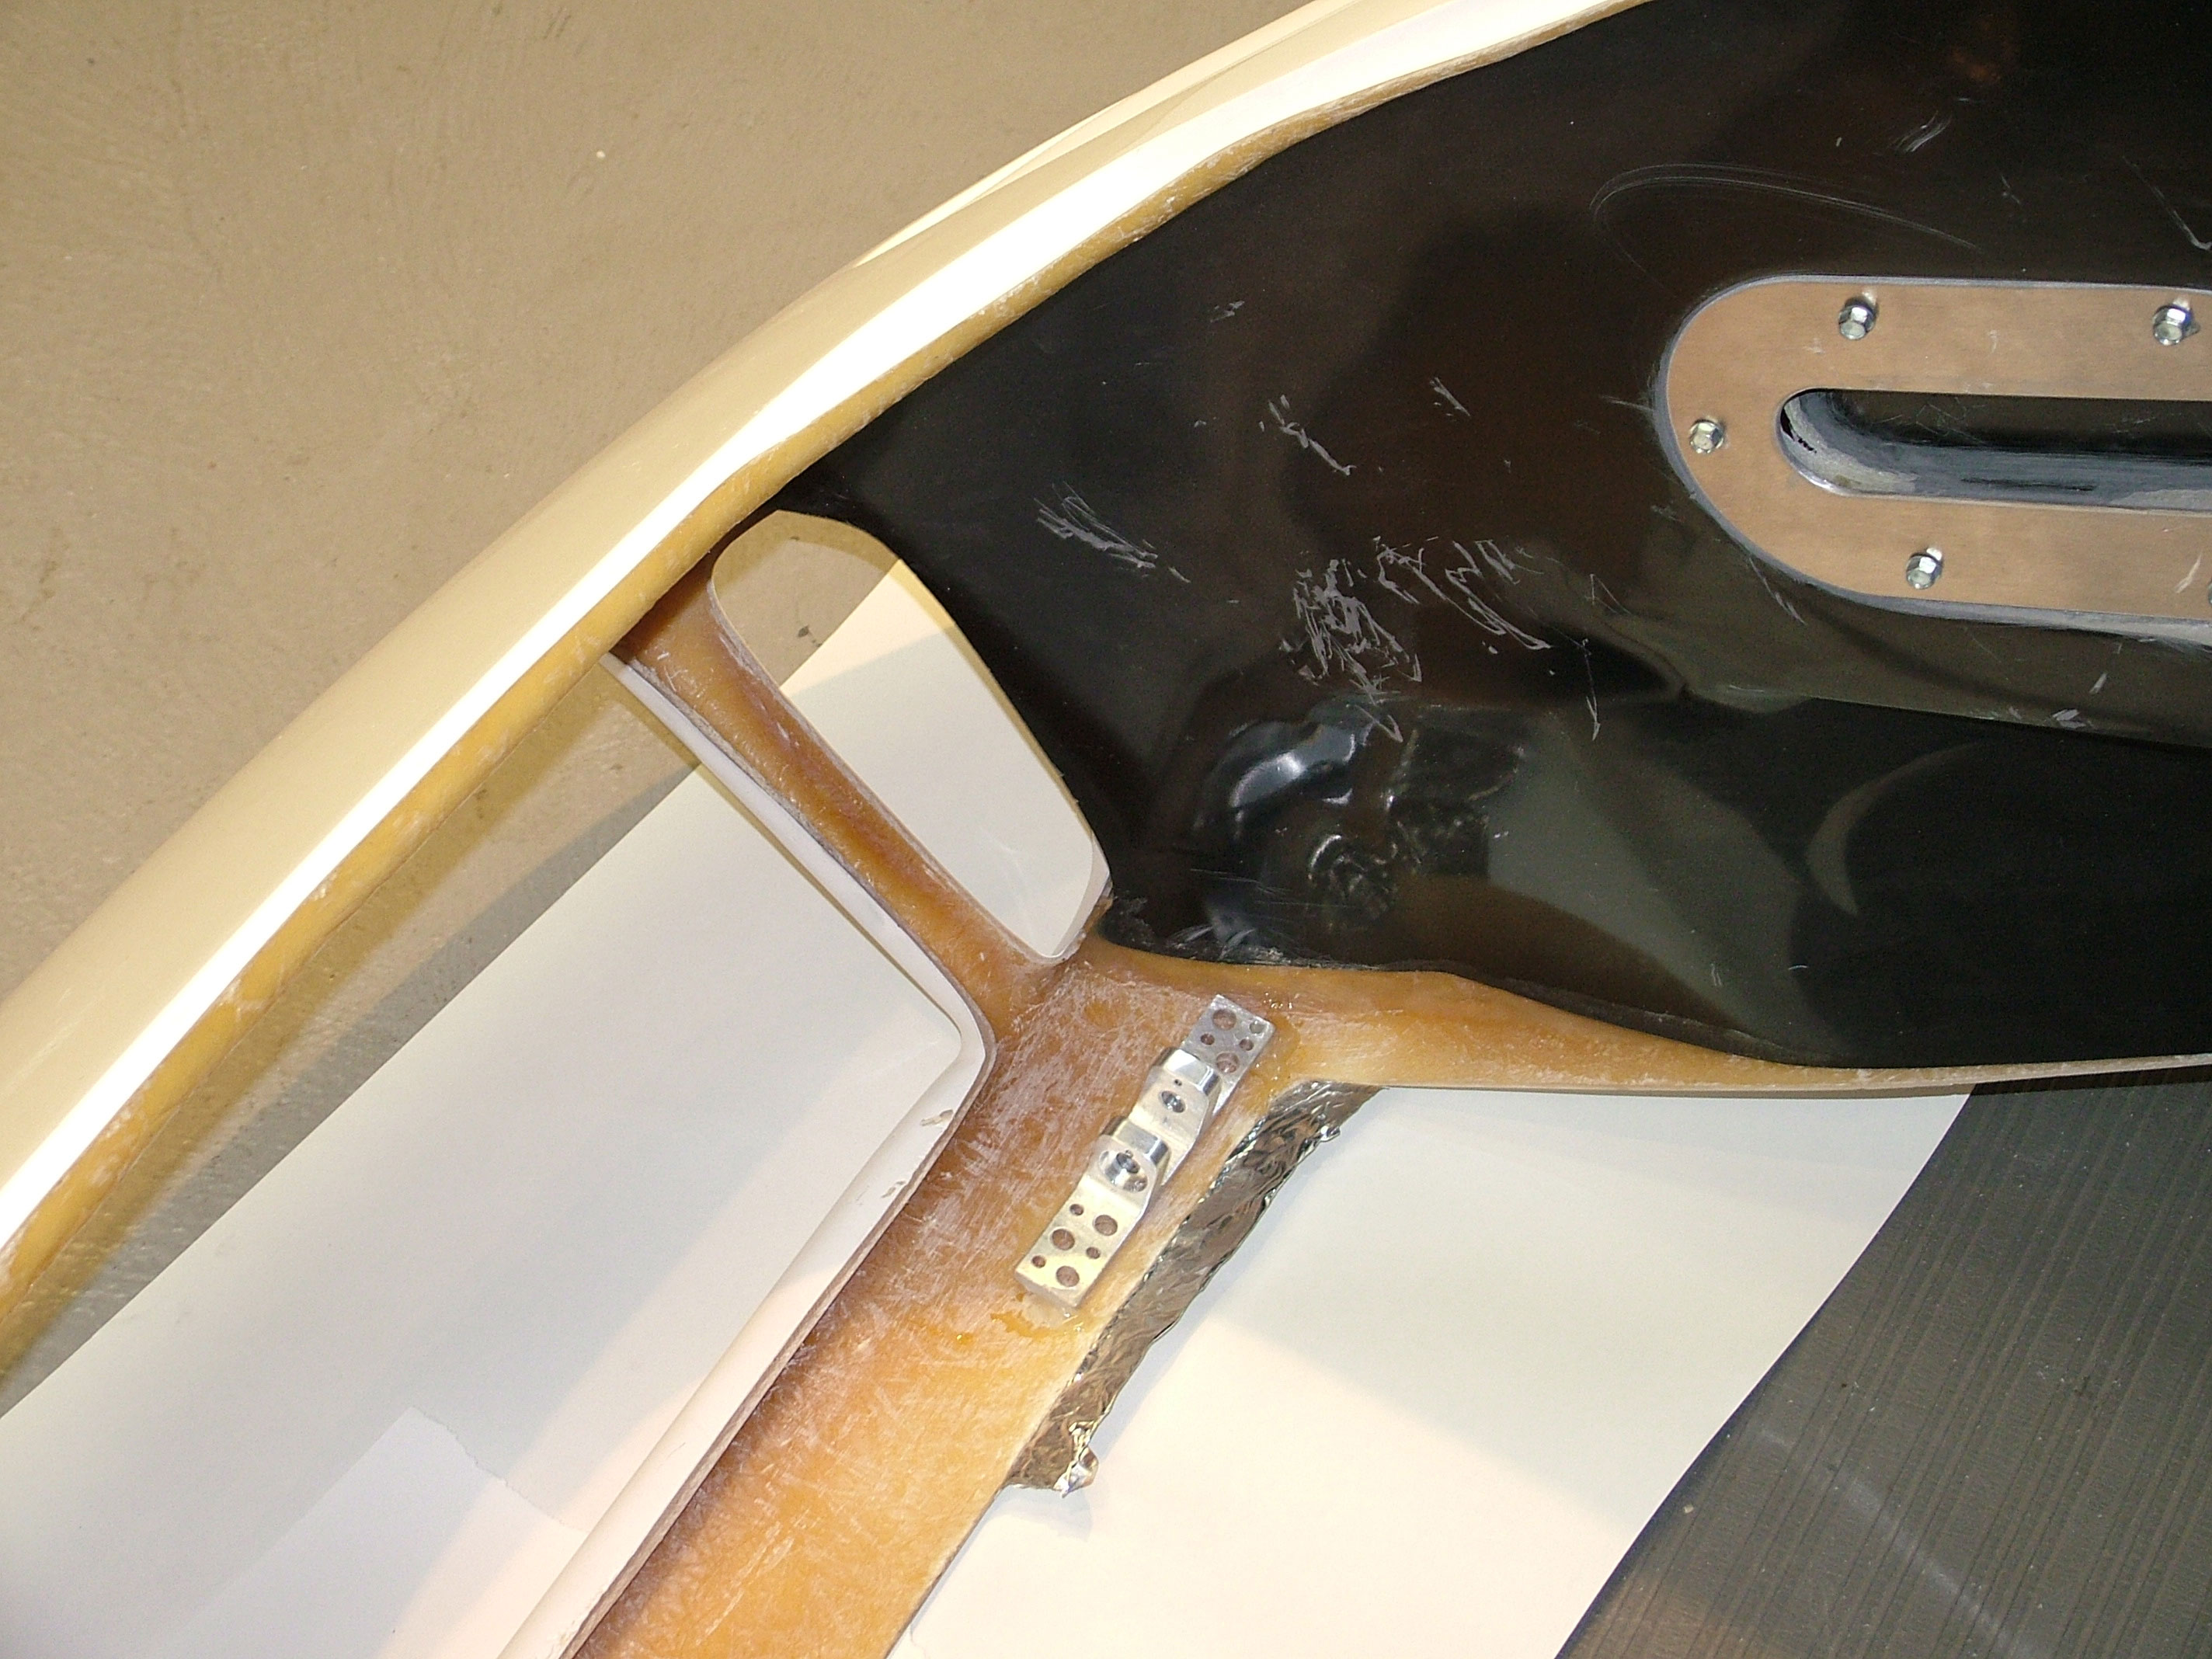
The front clip was moved further forward on the chassis. The bobbin positions (not sure if I will keep this attachment system) are shown below. I did need to work on the front clip quite a bit to get the bobbins to slide nicely in the groves.
The rocker panels are adjusted to be as far back as they can go (used the 52mm-55mm measurement from the rear of the rocker to the chassis from RCR Australia).
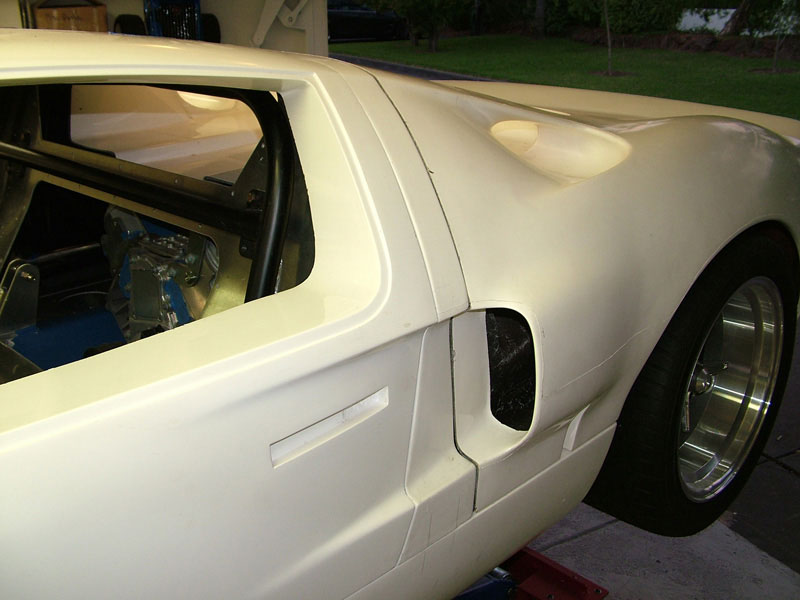
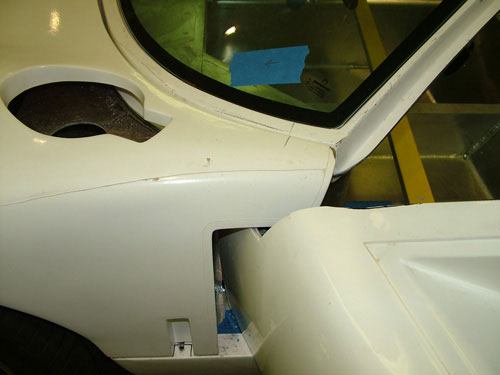
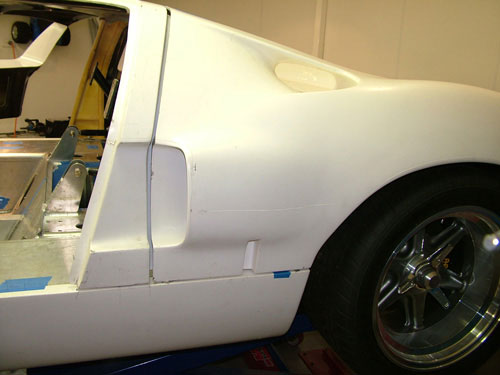
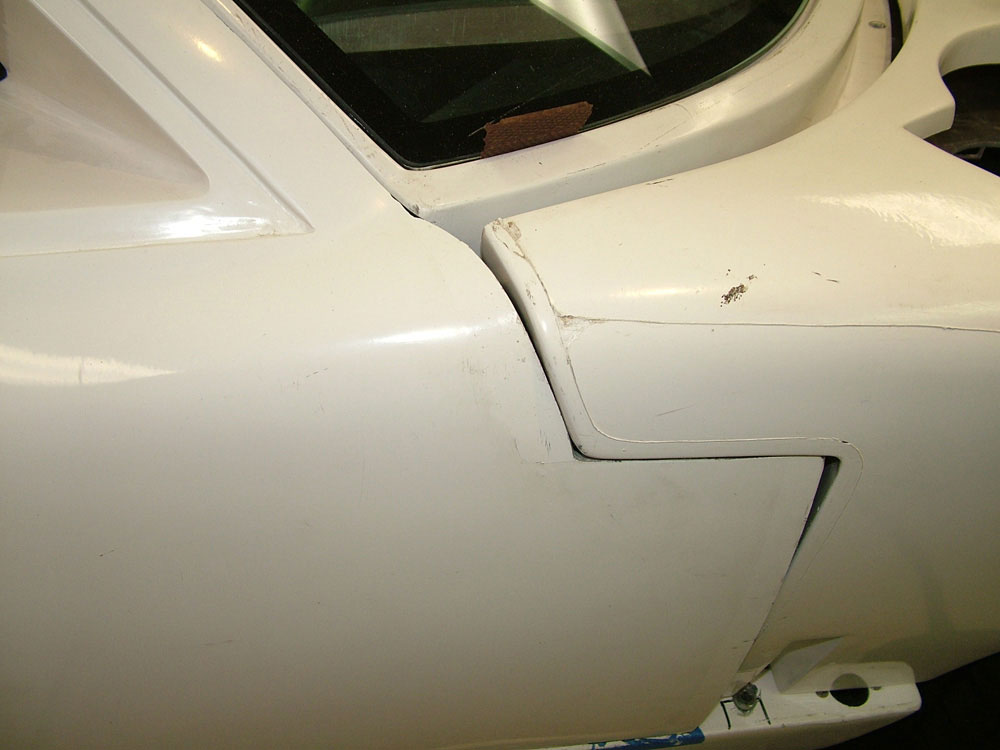
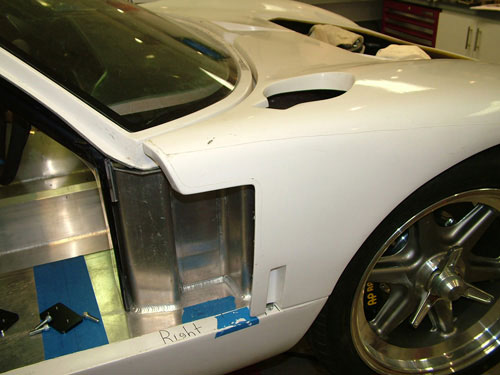
The spider was positioned (further forward this time) and the doors aligned. Its all starting to look a lot better now, however I have had to remove 10mm-15mm of length from the front of the doors to get the opening to what others list on the GT40's forum have and for the body to fit within the rocker length. I'm sure the door trimming was "different" on my doors. The result below is getting better.
As can be seen on the door before trimming (both LH & RH were like this) there appeared to be added/extra material on the doors. No-one has been able to tell me what this was but it definitely was screwing up the alignments of the clip last time.

So the rear clip, spider, front clip and doors are getting closer. I also spaced up the LH side rocker by 3-4mm as the chassis sat lower than the RHS and this really helped to close gaps under the LH door etc. I still need to address the alignment of the RH side of the rear clip as it still sits a little high and out. I will fit my replica Hartwell latches (thanks MDA) and see if I can pull it down into position.
Then I will adjust the doors. However the RCR supplied seals have a 7/16" bulb which is too small for my car and does not seal against most of the door so I have unfortunately had to order some replacement 5/8"seal from from Mc Master-Carr USA (Part# 1120A431 EDGE-GRIP RUBBER SEAL, BULB OPPOSITE GRABBER, 1/4" EDGE, 5/8" BULB WIDTH) as I see others on the GT40's forum have done. When this arrives I will dial in the doors as its a waste of time unless the seals are in position.
Update : 13th April, 2009
Better Gap Alignment - Two Questions.....
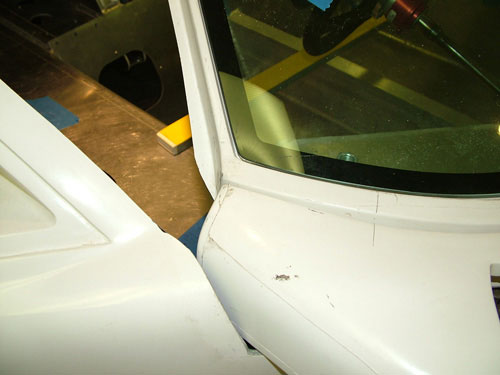
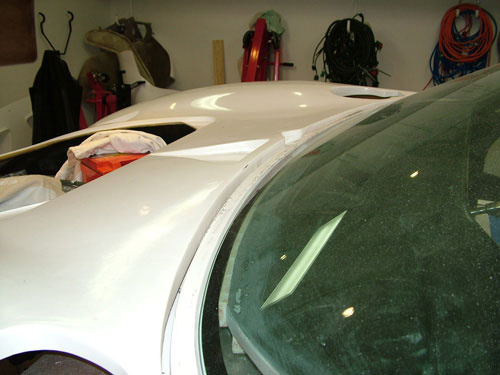
Thanks to suggestions on the GT40s forum I first aligned the front clip with the spider (bobbins, roll cage and firewall removed). Aligned the front clip corners well although the clip is still warped in the middle due to shipping and will need some glass work to pull it down level with the base of the windscreen. The battery has sat on it for a month and its not enough.
The spider's B pillars were adjusted into position (measurements from EGLITOM in the forums achieved, thanks). The doors still need to be better aligned to close without moving the spider.
My main concern is the fact that the front clip appears shifted to the right by ~20mm (see below). The front clip sits over the wheels well and the bobbin gaps are fairly even. Is this simply one of the GT40 peculiarities, the front opening is not centered on the clip, or should I look for the cause? The fitment of the AC condenser will hide it anyway but just would like to know if this has occurred to anyone else?
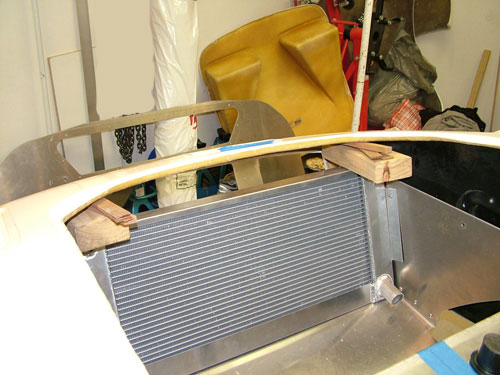
The distance from the top of the radiator to the bottom glass surface of the front clip is 75mm, is this too high? It makes the front clip level with the rockers but just checking.

Update : 24th December, 2008
More Panel Work
First job was to fix the door attachment, the door bolt was supposed to go through the door and the mounting bracket flipped. Correction did not take long. Next job was to ensure both rocker panels were as far rearward as possible.
RH & LH shown below.
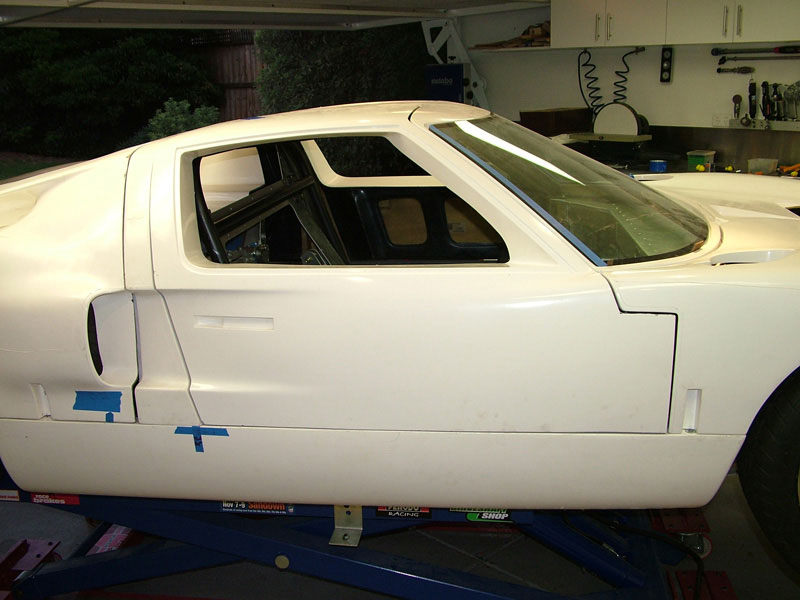
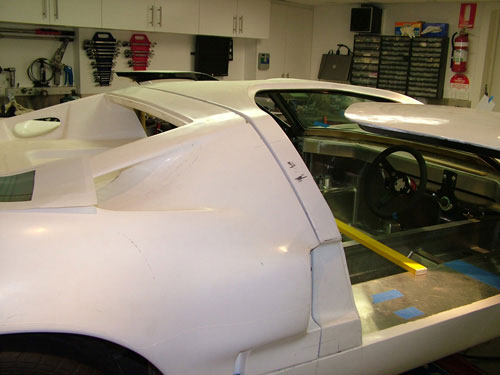
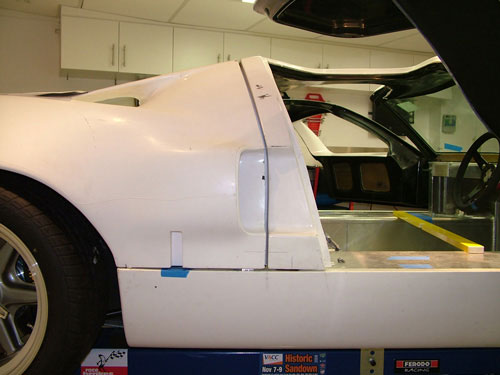
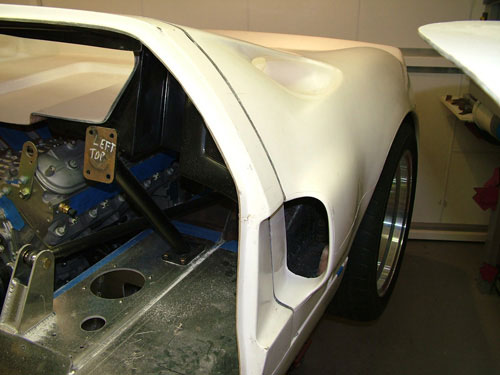
I then attached the rear clip. The LH side of the clip (not shown) sits level on the rocker panel, the RH kicks up a little at the front as shown below. I will also need to look at moving the rear of the spider back and adjusting the doors rearward a bit to close the gap to the rear clip.
However even after moving the door a little I expect the front clip position will still be an issue. Front clip bobbin movement suggestions from RCR Australia have not been able to correct the issue. It looks like the front clip is warped, it actually has small kinks in the trailing edge of the front clip so I'm pretty sure its bent, probably during shipment. I have a battery on it to bend it down as it sits very high against the spider. It looks like it is slowly getting a lower set and lining up with the front of the spider.
The doors also seem to have some added material which may be affecting the fit of the front clip, I'm not sure if this is normal for RCR kits. I do not want to shave any fiberglass yet though so I will move things around a little more and see what I can do. Others get fits without cutting anything, but here I'm not sure.
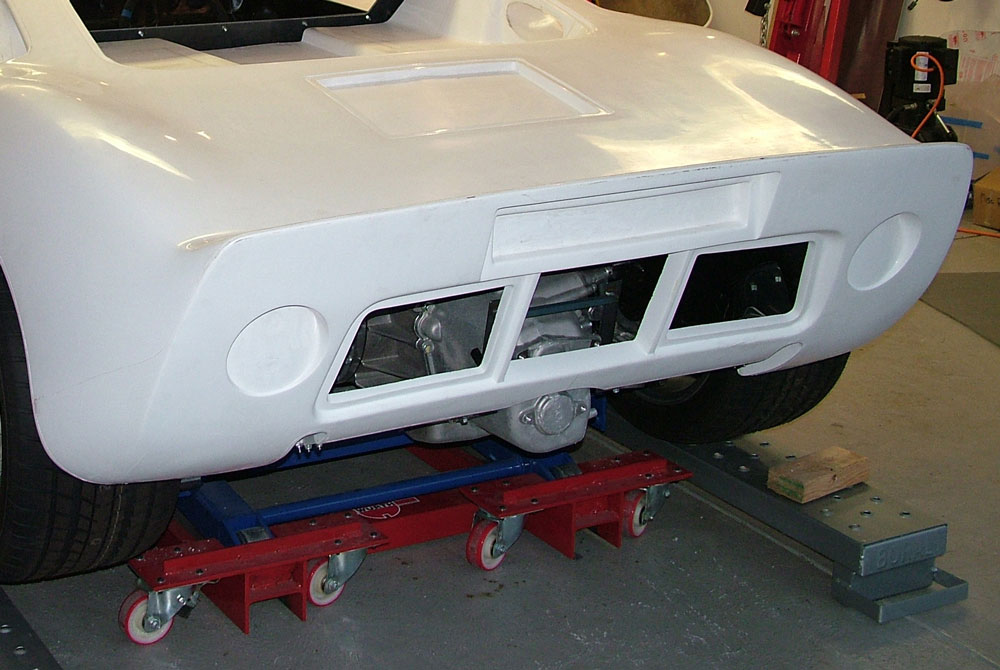
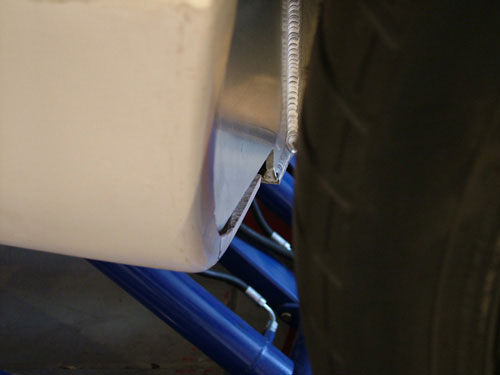
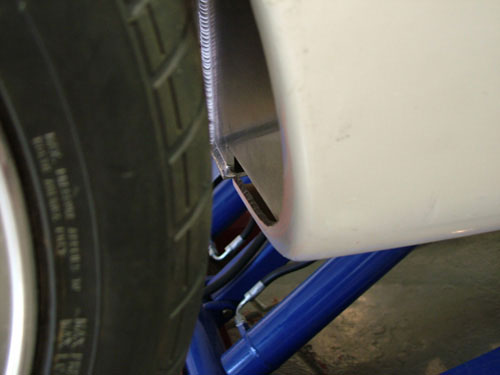
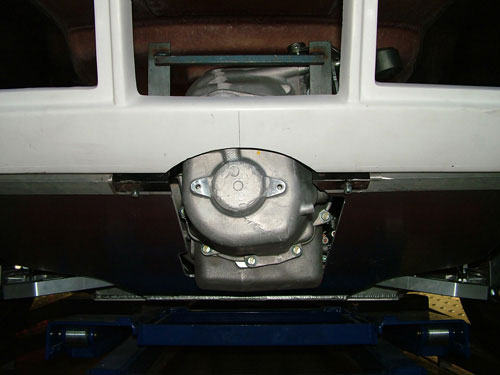
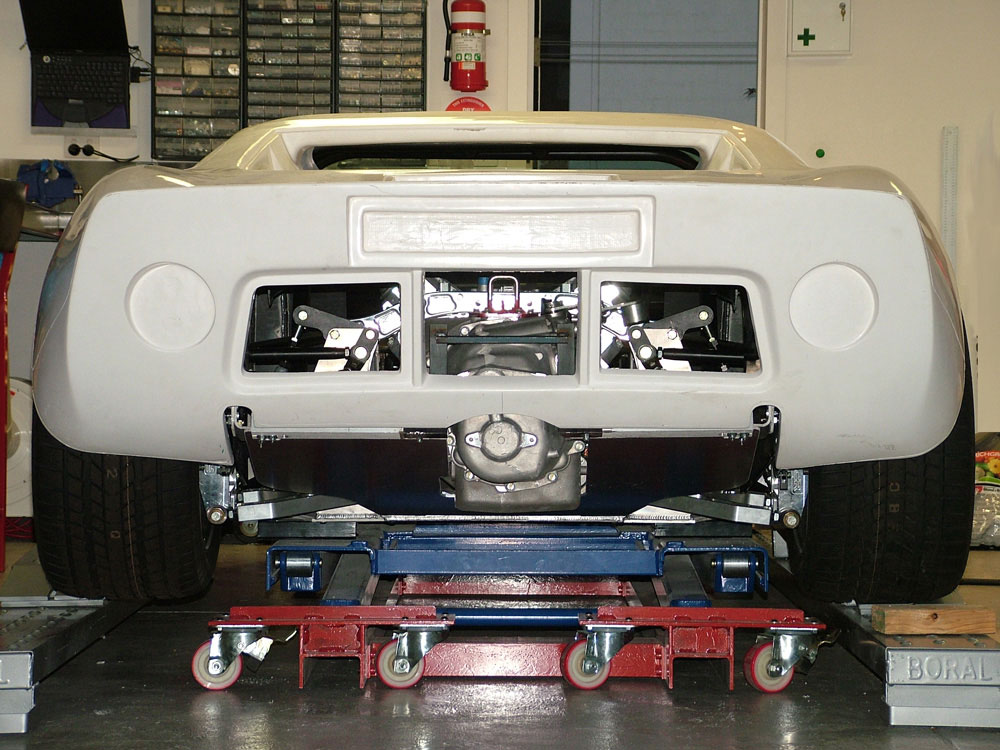
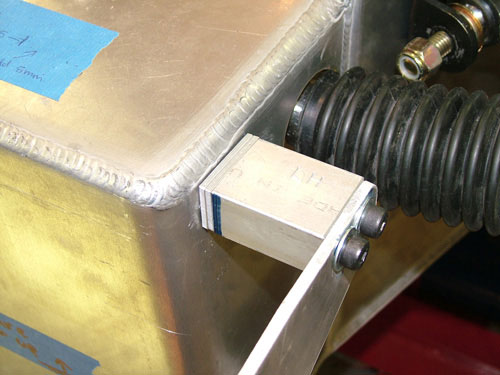
I did have to chop a bit out of the lower part of the rear clip to clear the transaxle. I will glass a bump in here so that it is not that obvious. The temporary metal work inside stabilises the rear alloy panel as it was cut in half to clear the transaxle.
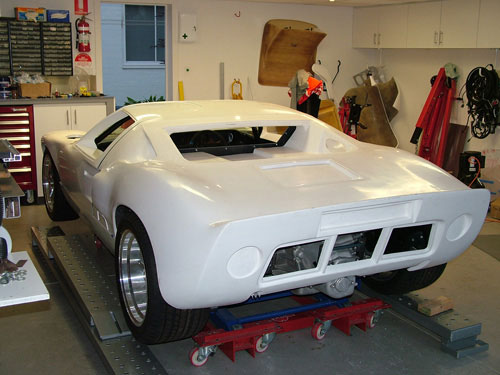
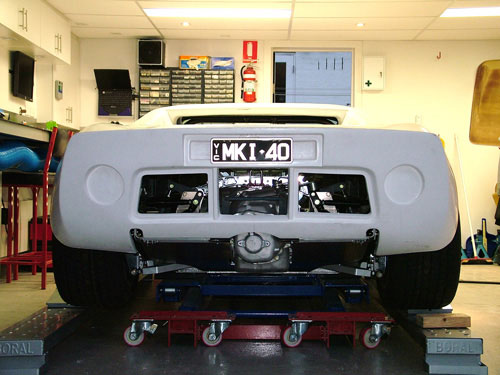
Overall the rear looks like it will fit fairly well, still not sure about the front though. Lots of work to go yet on this body adjusting.
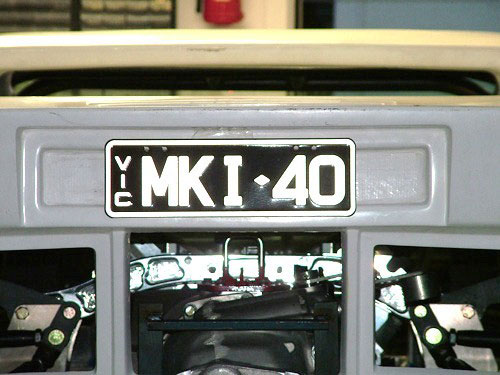
Also attached the number plate for fun. It will be a while before it can wear it legally!
Update : 07th December, 2008
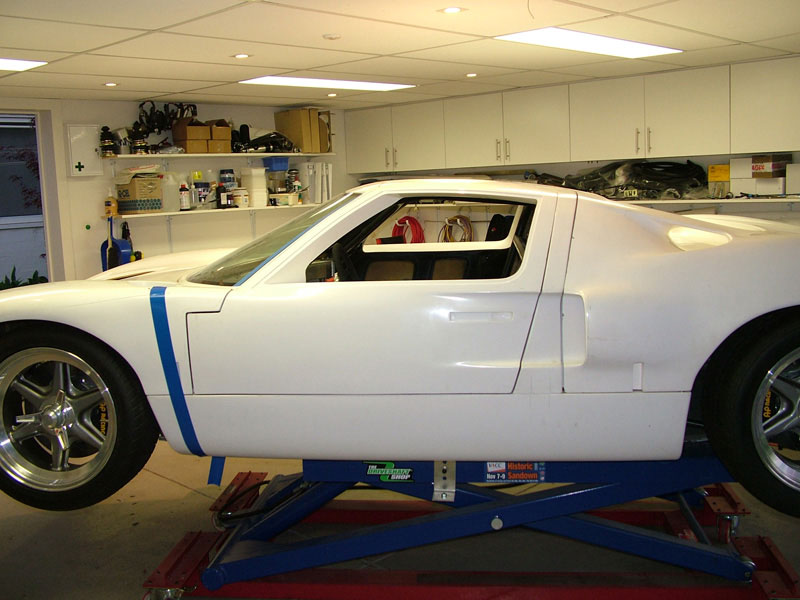
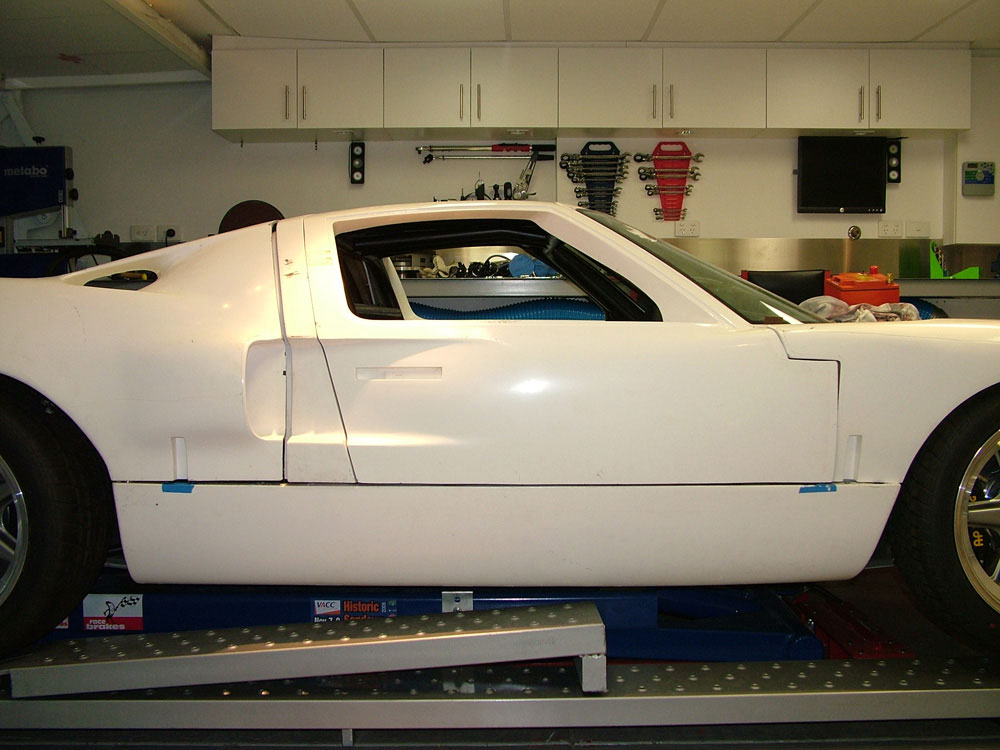
Beginning the Assembly of the Body Panels to the Chassis
The job of assembling the body to the car was started. I will "loosely" fit all the panels and slowly trim adjust them all together, they all affect each other in some way.
Firstly the misalignment of the front of the chassis and its affect on the front "beaver" panel was fixed by shaving 4mm of the RH alloy block and adding 6mm of spacers to the LH block as shown below. The holes in the alloy plate were also slotted to allow the entire assembly to be leveled as it was found to be at an angle (see here). I did not want a sloping radiator behind the body as it looks terrible.
After fitting the LH & RH rocker (sill) panels I loosely fitted the front clip. I have to do some work here to get this right as it sits quite high in front of the window.
I then decided to put the doors on. I made 4 aluminium backing plates with nutserts in them to make fitting the hinges to the chassis much easier (no spanner behind to hold the nuts). I made horizontal slotted holes in the chassis, with the vertical slots in the hinge this will allow hinge movement to align the doors.
The standard design uses two bolts to attach each of the hinges (a bolt and nut on the top and another set at the bottom) and its a bit difficult to fit the door on my own. So I purchased two 1/2" UNF x 10" long grade 8 bolts (AUD$51 for the two, ouch). This allows me to run one long bolt down the door hinge. I also purchased different thickness nylon washers to place between the moving hinge elements to get a tight, rattle free fit.

The door fitted well but will need a lot of adjustment.
Also not sure about the 66" dimension from rocker to rocker. It looks a little wide for my front clip (I have to stretch it to get the alignment pins to lock in) and I would need to space my hinges off the chassis by a lot (~15mm) to get the front of the door to line up to the rocker panel.

I may weld the lower nut to the chassis hinge as it will make the fitment and removal of the bolt even easier. I may also weld a tube between the door hinge plates to help alignment of the bolt through the hinge points. Not sure if that will limit the adjustability of the door though.
Update : 25th September, 2008
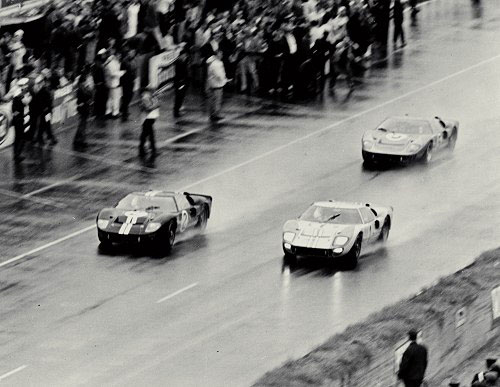
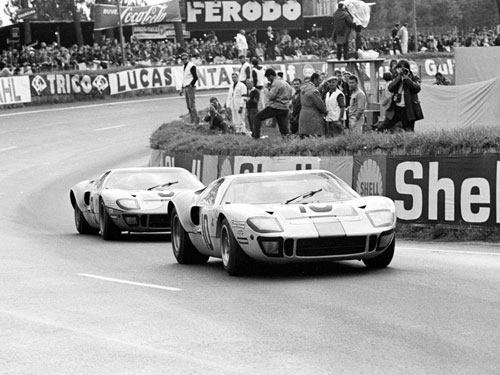
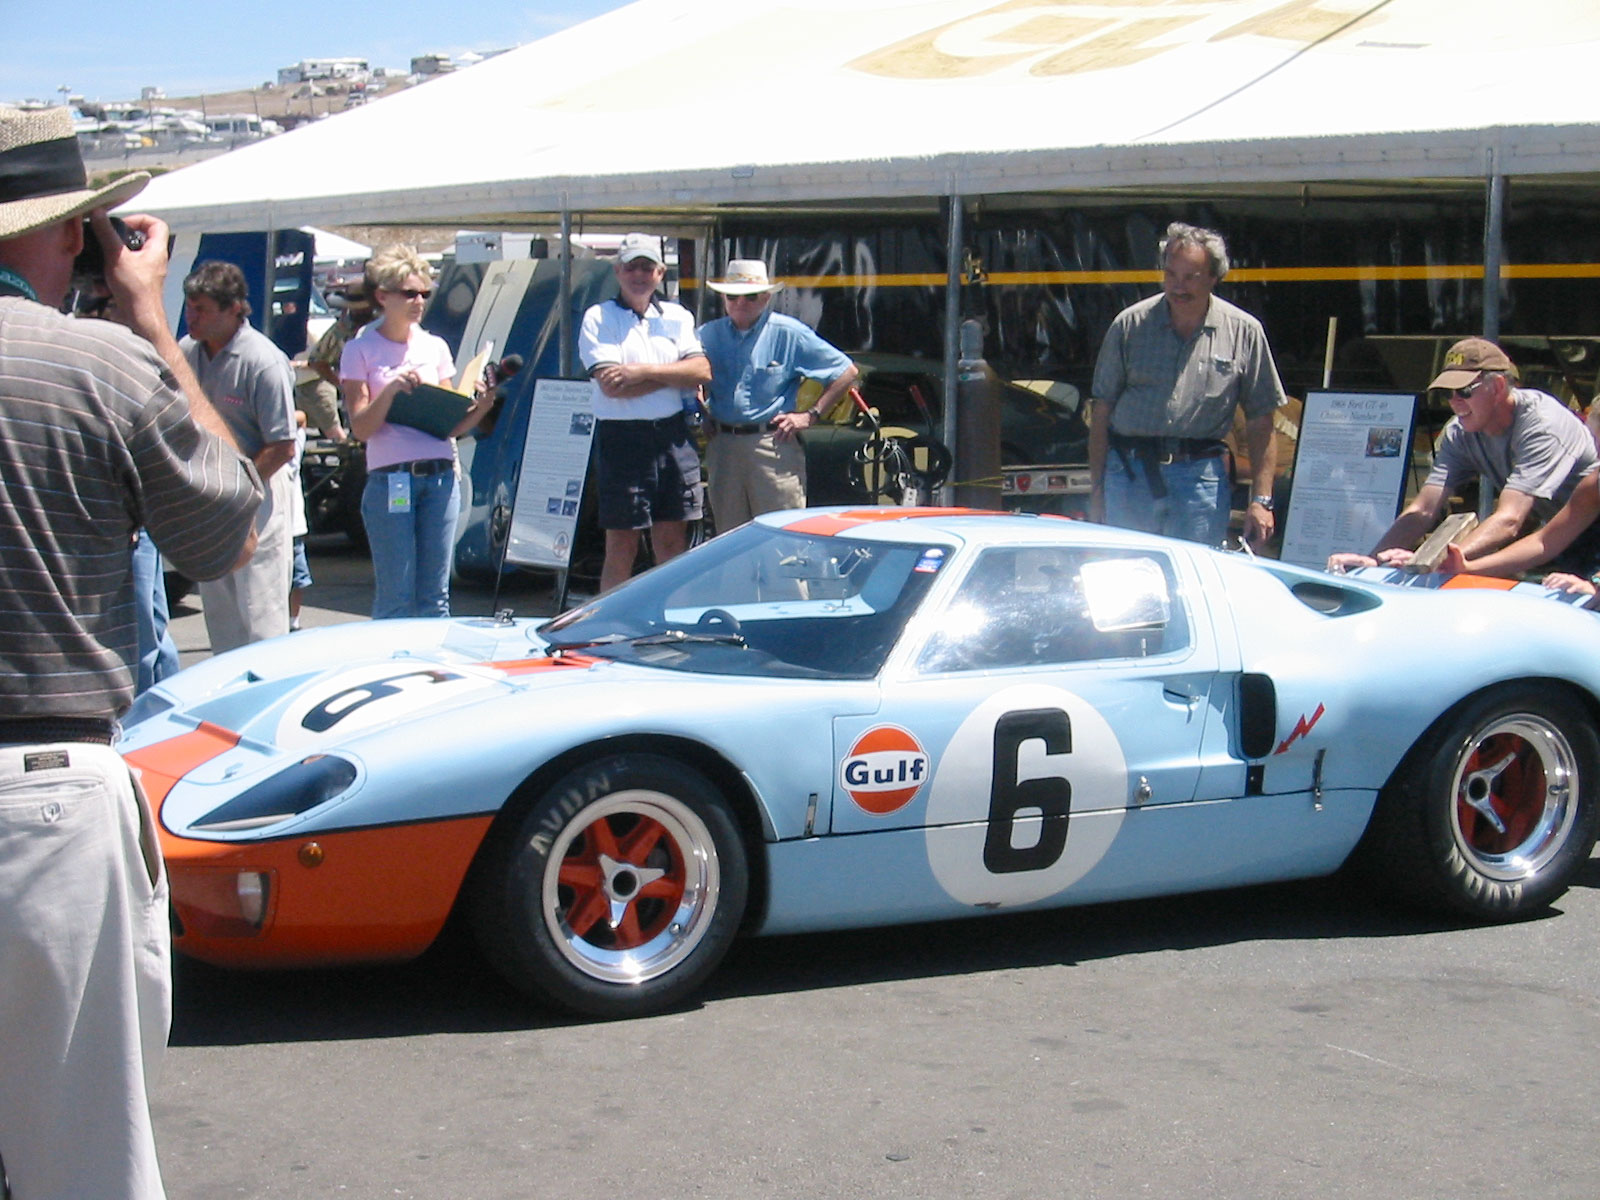
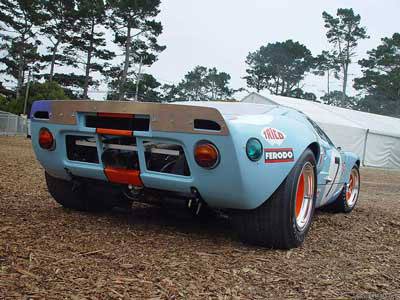
My GT40 will be an approximation of GT40 P1075 at Le mans in 1969

Even the photos below do not show the images over the rear arches. I will be putting some time into getting the decals right.
The inclusion of details such as exterior door handles, Le Mans pit lights etc. are undecided at this time.
Update : 4th May, 2008
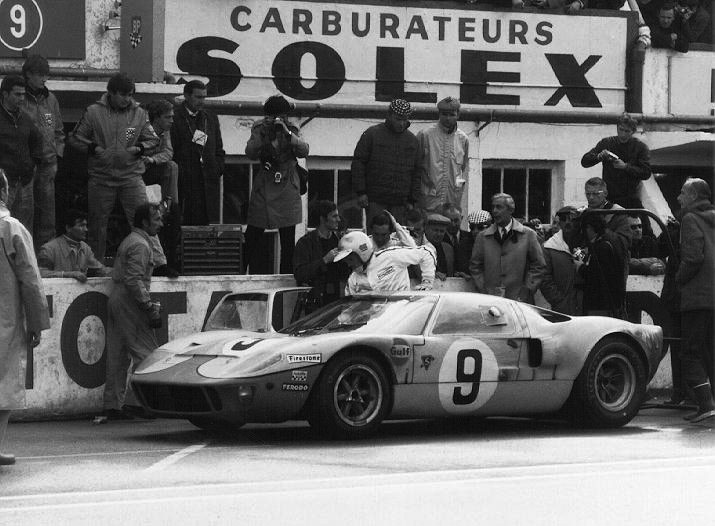
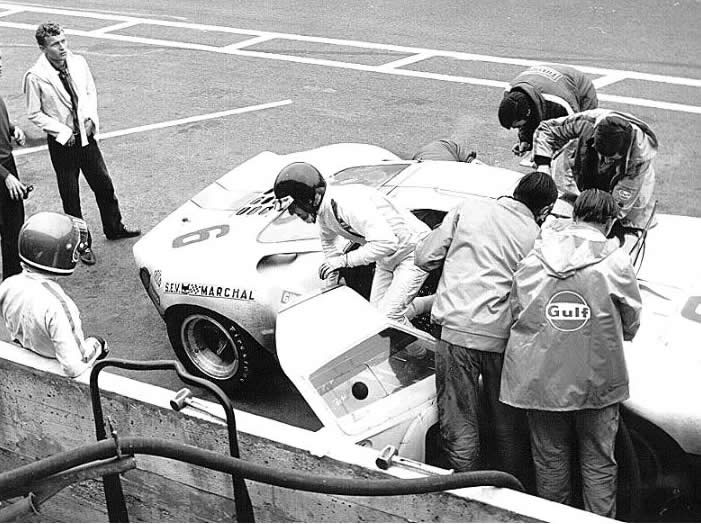
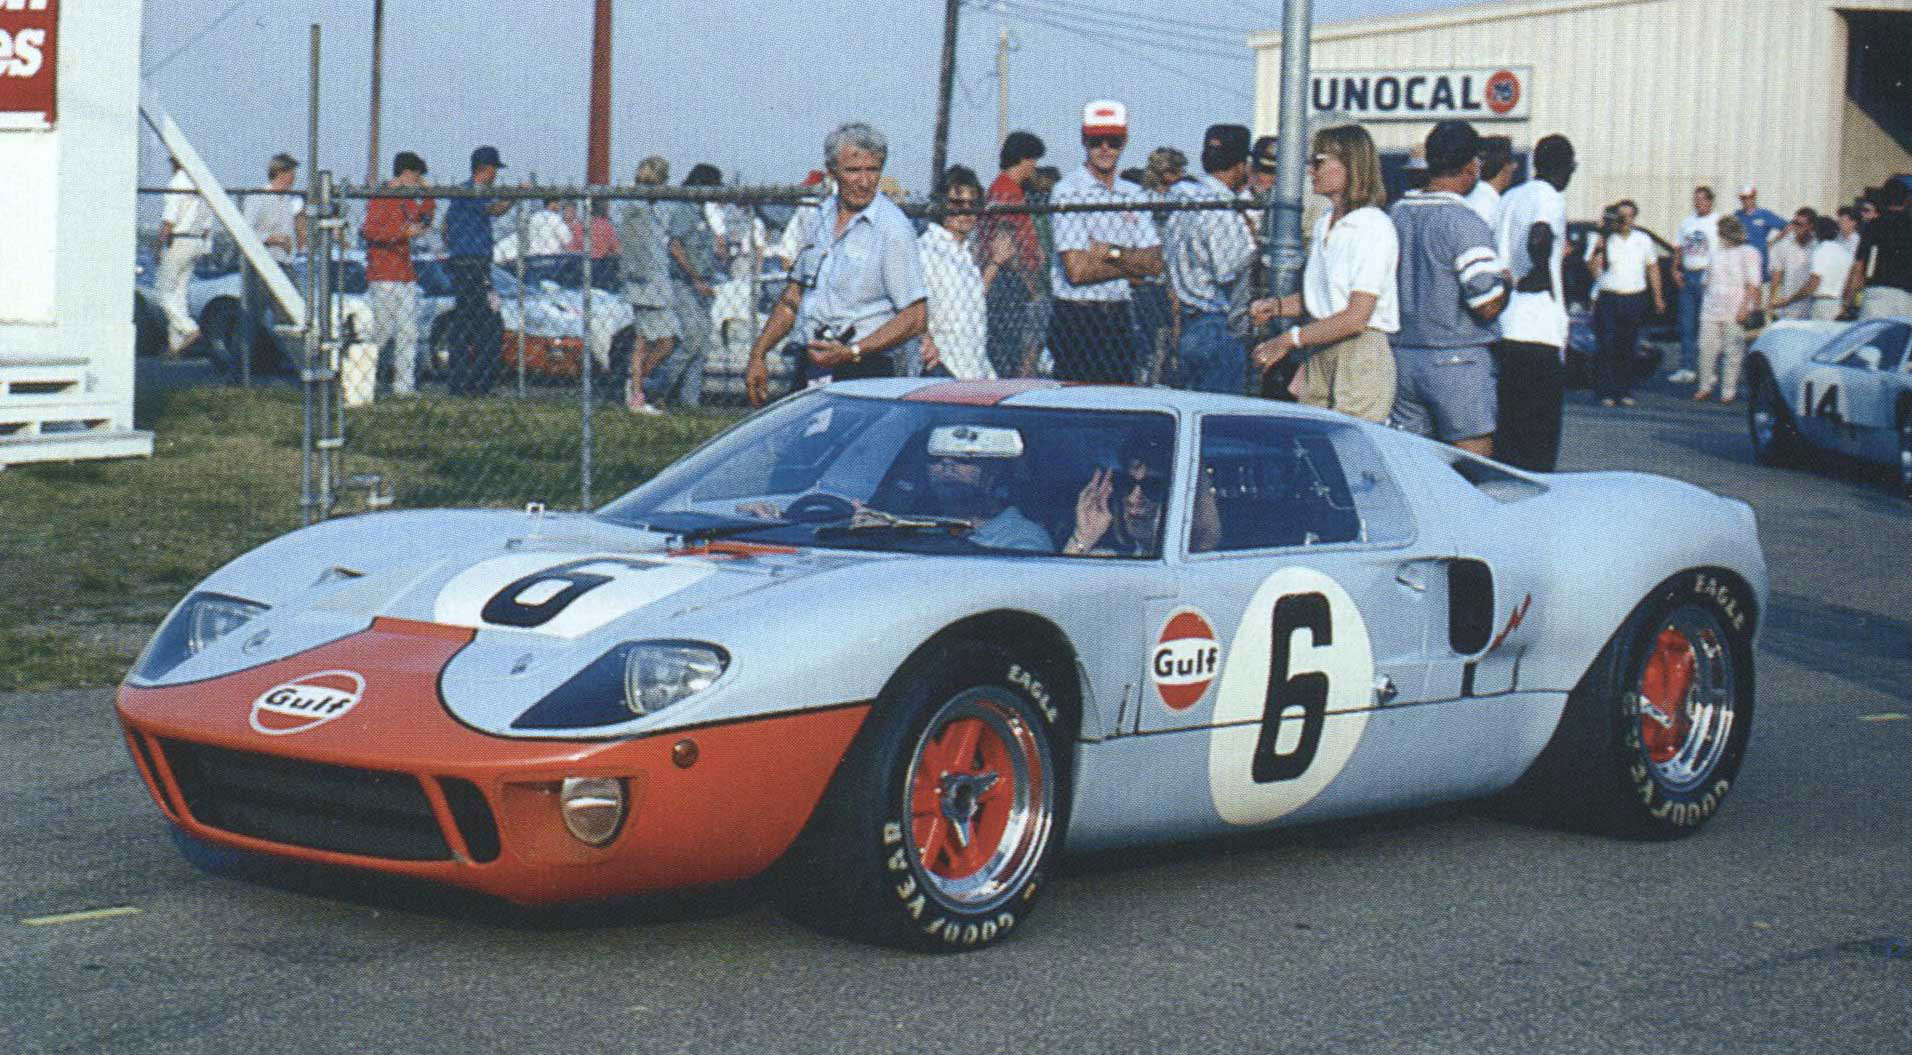
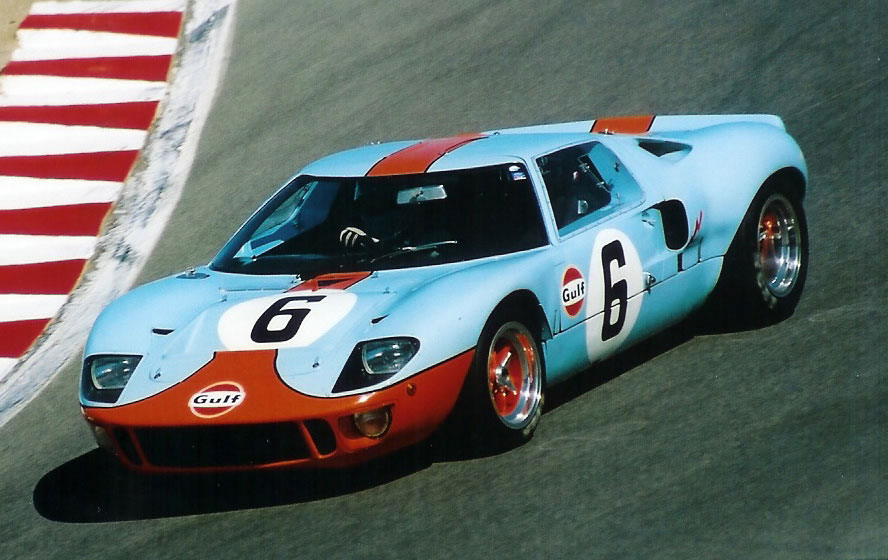
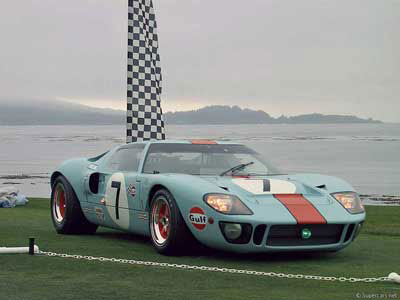
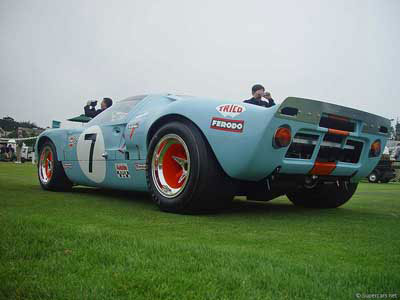
GT40 P1075 setup for Le Mans in 1968

The images below are of GT40 P1075 restored to its 1968 Le Mans configuration.
Update : 5th May, 2008
Page 1 2