More Electrical
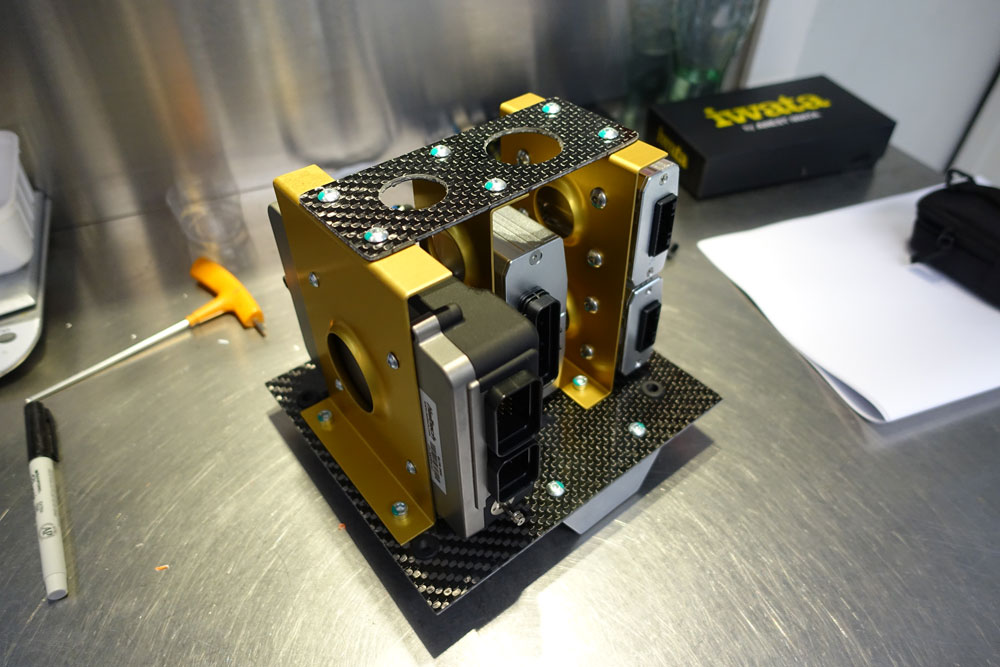
More work has been done on the Electrics including the selection of the equipment to run the engine. I have decided to use a Haltech Elite 2500 Engine Management System for my Coyote. I have also decided to use a Racepak power module to eliminate fuses and relays. The Haltech system with O2 module and ignition module were assembled into a fabricated assembly to stow them in the LHS rear compartment which is sealed.
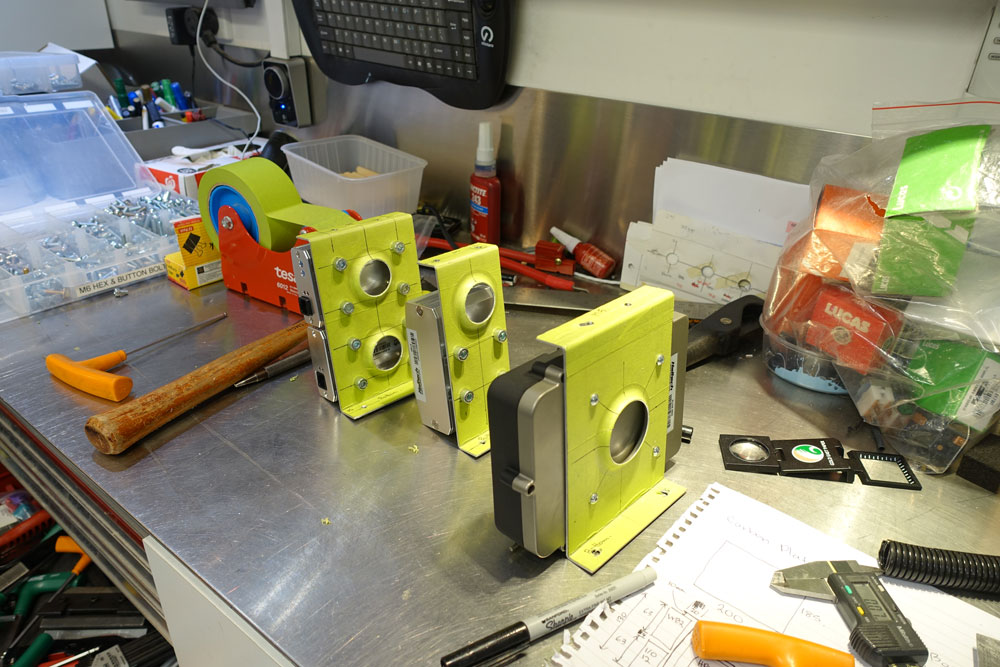
After anodising and final assembly it worked out well and will allow the removal and refit to take a few minutes and help to keep the wiring neat.
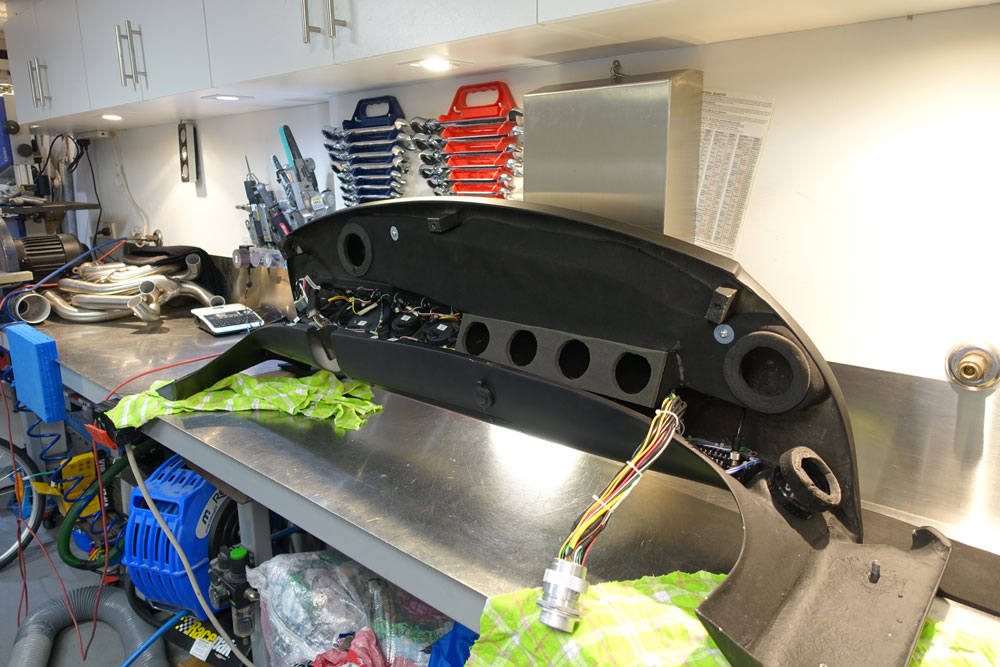
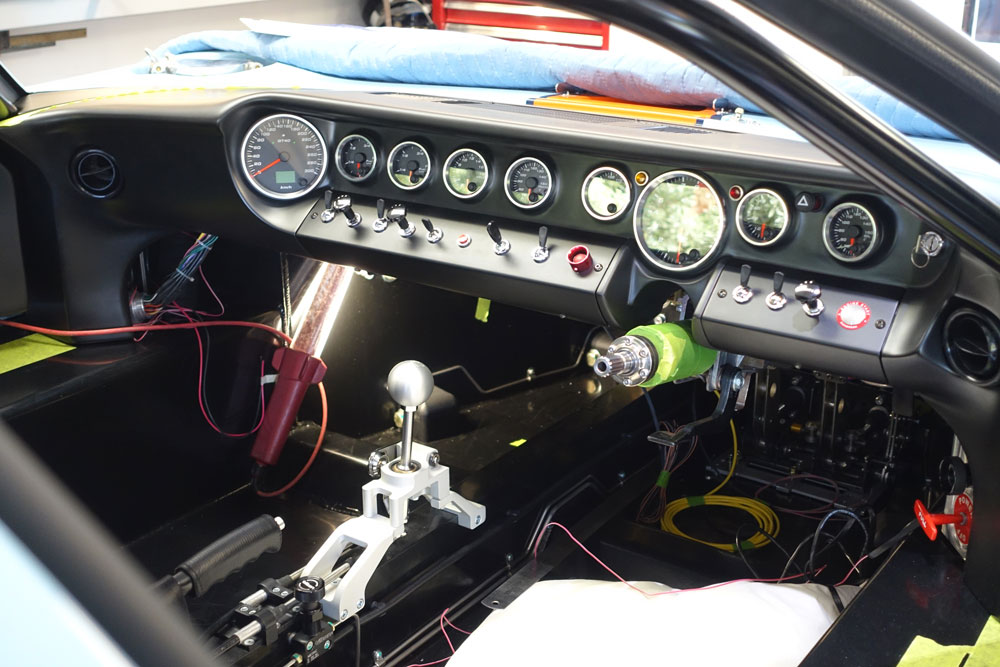
I am making all the harnesses removable with Deutsch connectors for all the major mating points. The dash was wired with a racepak switch module that allowed me to reduce the wire count somewhat out of the dash allowing just one connector to carry all gauge signal, switch, indicators and other functions.
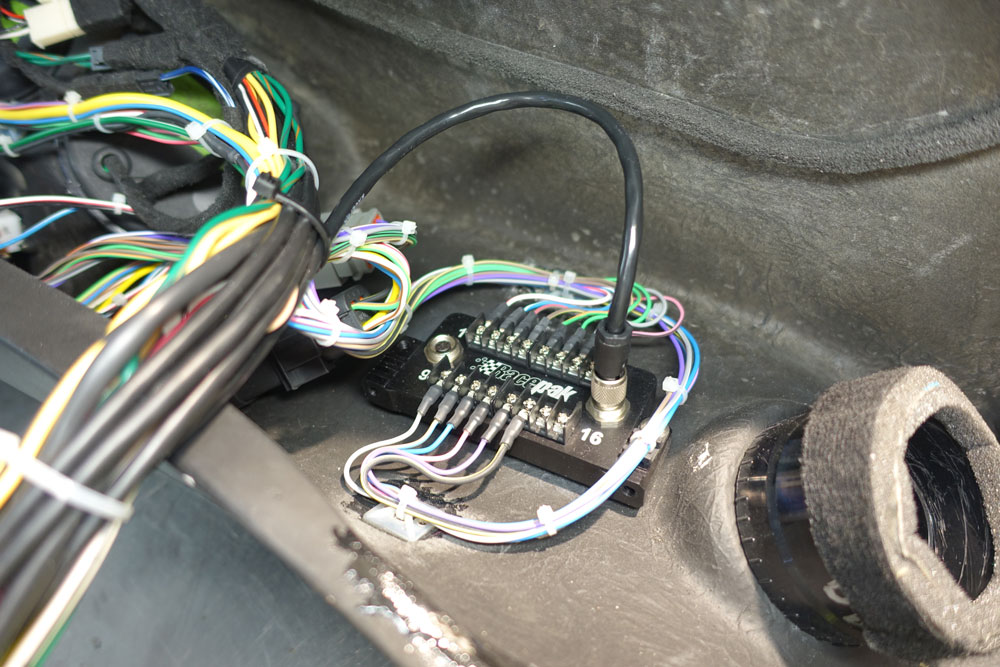
It will make removing the dash a 5 minute activity as there are only a few fasteners and one plug.
Still lots of wiring to do!
Update : 28th July, 2015
Start Your ... Electrics!
Time has come to start the electrical systems and wiring. As I currently work for the largest electrical connectivity company in the world (TE Connectivity) I will probably struggle with this part of the build! The honest truth is making a real motorsport harness is a real art and VERY expensive. I will be simply building a sound harness using correct crimping tools with select motorsport parts to keep the cost and complexity down.
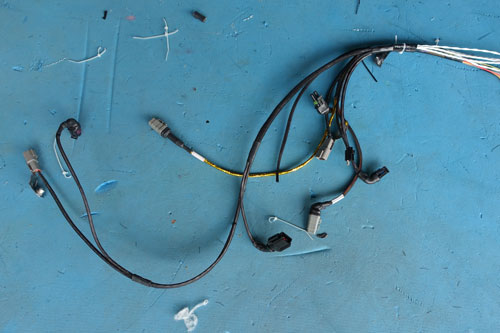
I started at the rear of the car on the transaxle harness. I have opted to use military specification shielded cable for all the sensors as its light, and compact as there are a few sensors on the car. For all connectors that are not defined by a specific device connector I have opted to use Deutsch connectors. Although these are not cheap they are very good and easy to work with. I began designing the harness utilising multi pin Deutsch circular connectors to aid in removal of the engine, front and rear body work, dash etc. No harness will be built in a manner that its locked into the chassis. Also there will be no separate harnesses, all wiring will be integrated in a loom, not added a part at a time. A lot of the cables are to big a gauge for the motorsport Deutsch range so I am sticking to the HD, DT, DTM and DTP range.

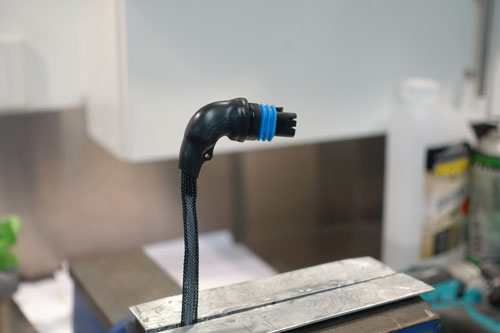
I also opted to begin using proper right angle and straight connector heat shrink boots where possible like below. It really makes the harness a little more durable. No tape and nylon braiding or nylon corrugated (unslit) tube in areas of extreme flex was also used.
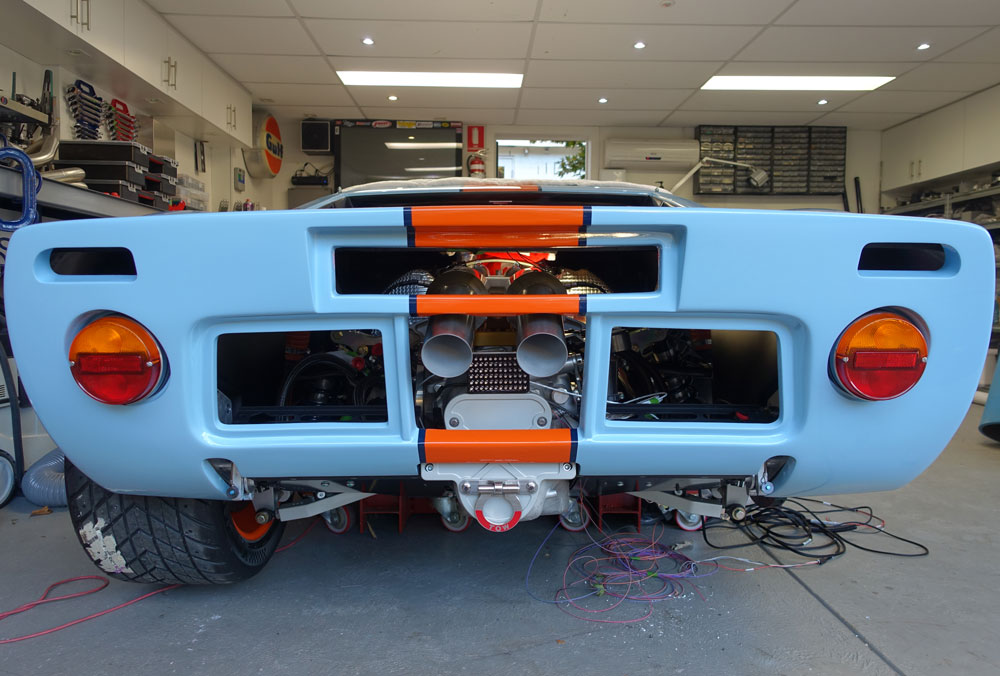
Fitting up the rear lights was a step I was looking forward to for some time. I also added a center mounted LED light that car be configured as a third brake light, reversing light or rain light.
As I am making up all the looms from scratch so I invested in a large amount of different colour and gauge super thin heat resistant and ultra flexible (120 degrees Celsius) AESSXf wire. Its great stuff and its nice to have all the cable you want at hand with enough colour combinations to do each circuit in a colour coded manner.
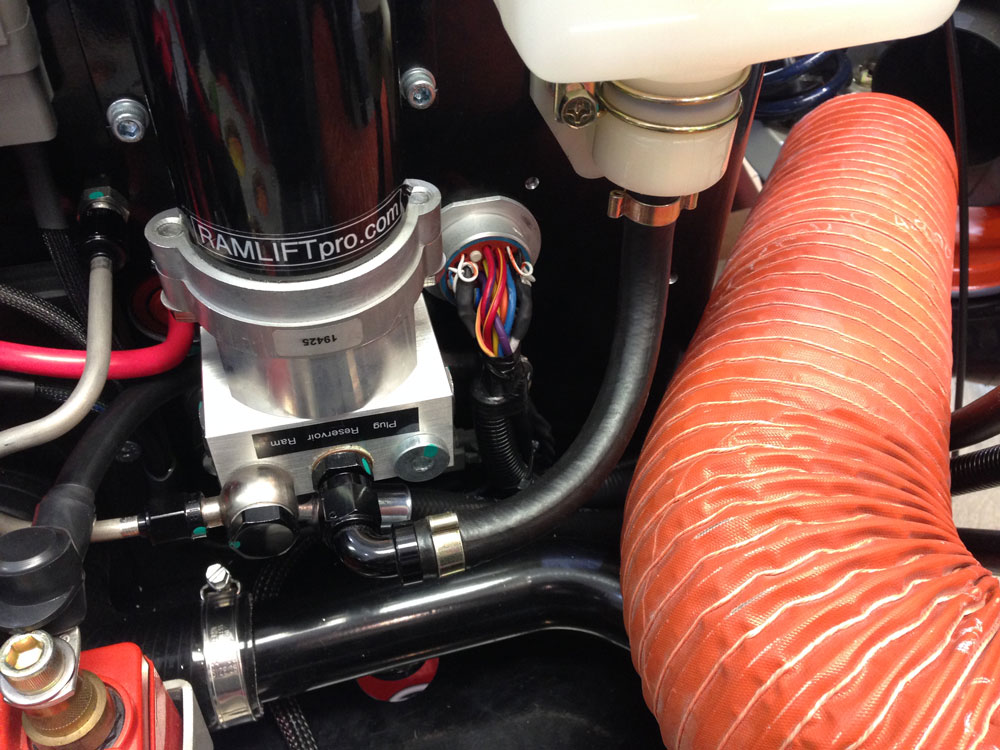
All the fans and other systems at the front were wired to one main Deutsch HD34 connector, I will not fit the boot until its electrically tested. Below you can see the lift pump for the lift kit.
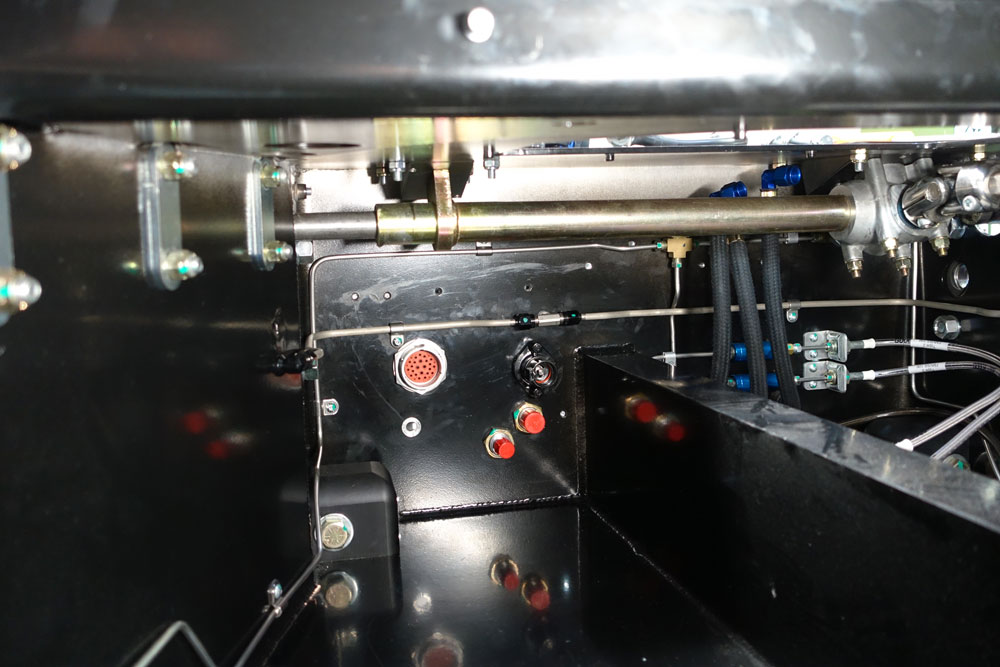
On the inside of the car one can see the connector face, I want the main fuse and relay board in the foot well to be easily removed to assist with making it and any repairs. There is one large single pole (black) DTHD connector (100A) for the supply to the board. The other fittings in the image below are the A/C lines (not connected yet).
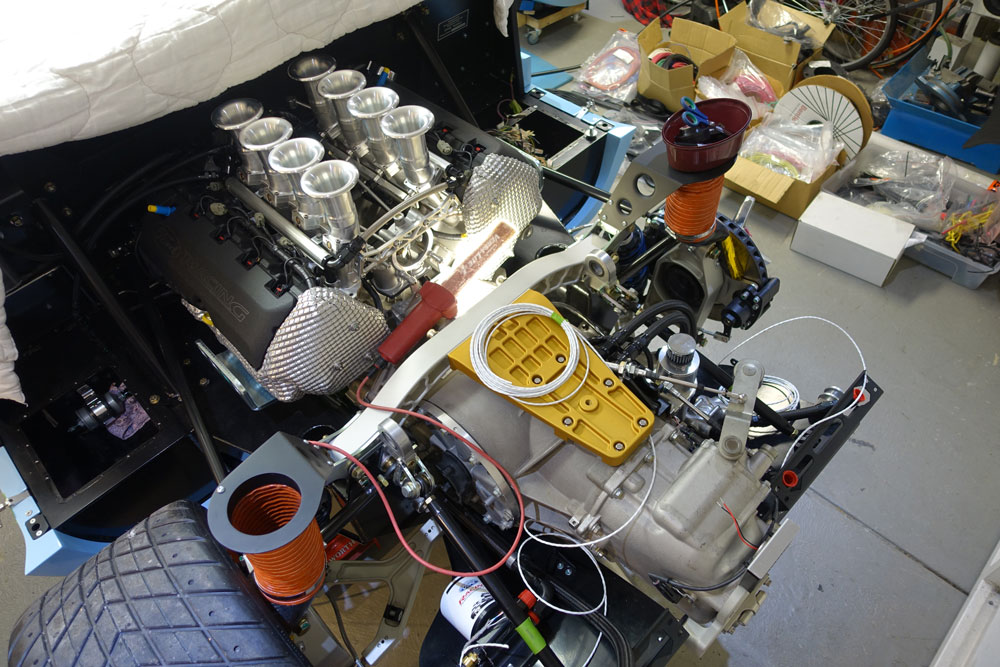
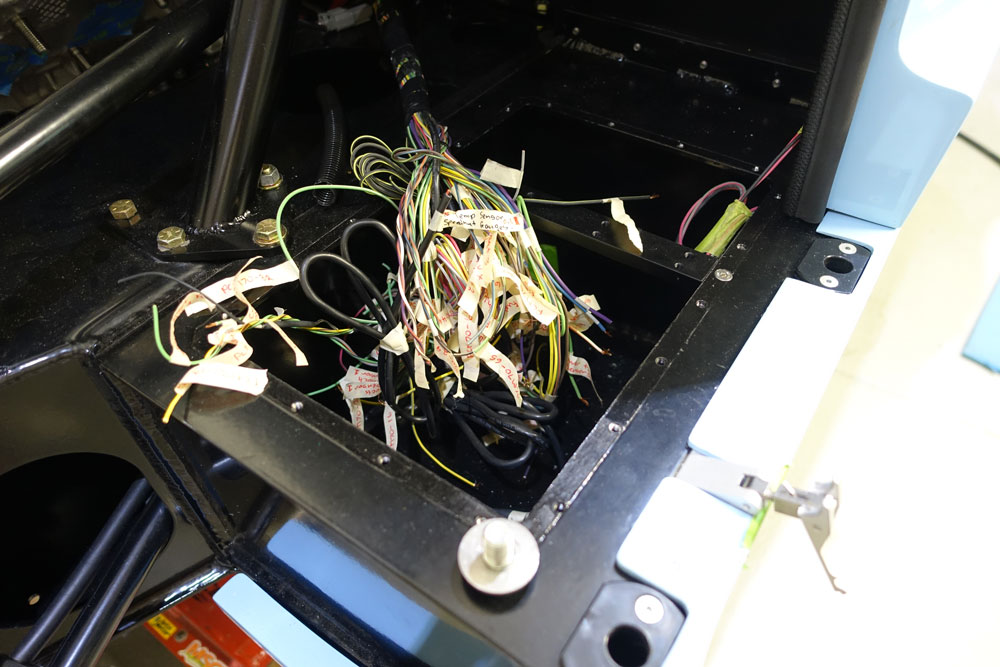
All the wiring is going well, but I'm avoiding the engine wiring, I don't know why (see the image below!).
Update : 29th March, 2015